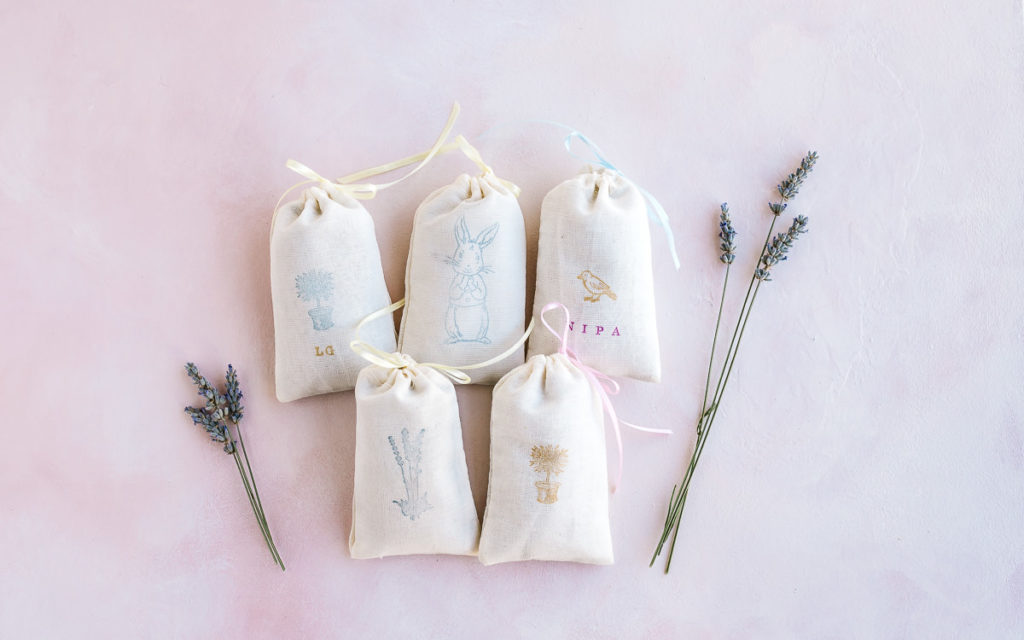
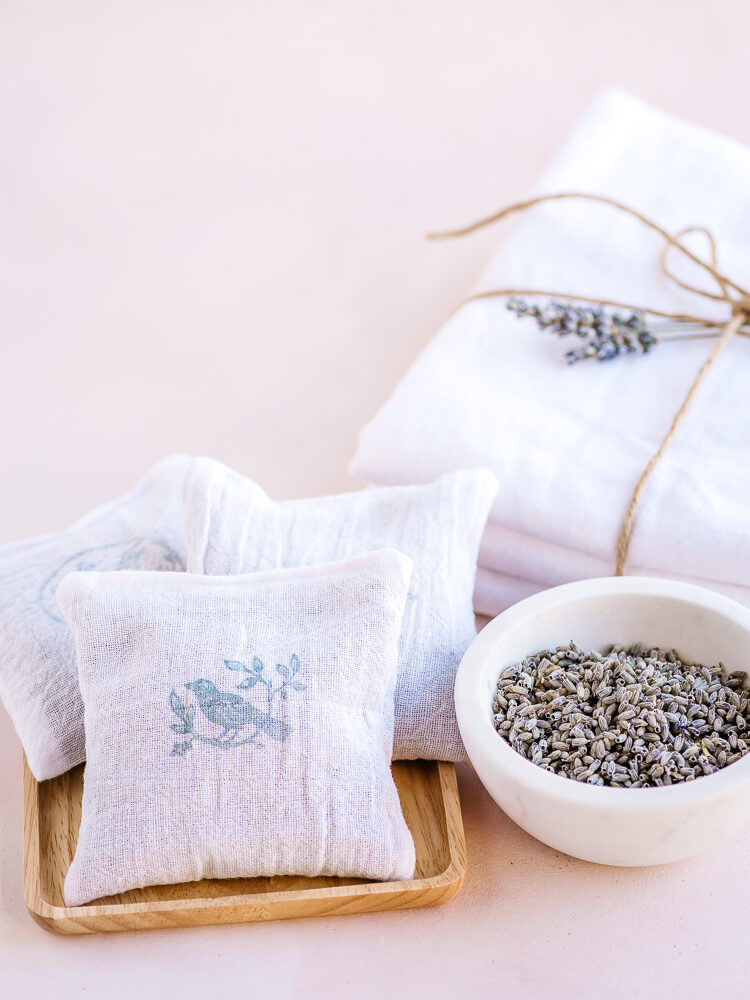
Hello friends! Today I’d like to share a super easy but also super special and customizable DIY gift – heavenly scented lavender sachets that your friends will love! (You’ll probably want to keep a few for yourself too!) I’ve been making lavender sachets for several years now, using the buds from lavender plants in my front yard, and have given most of them away as gifts. I’ve given them to girlfriends, men and kids and they ALL love them!!
Lavender sachets are great gifts because of their amazing scent and stress relief properties, and also because it’s so special when you customize it for a specific person! They’re great to tuck into drawers, hang in closets or just to keep next to your bed or desk for a quick pick me up. They’re the perfect gift for any occasion – birthdays, Mother’s Day, Christmas, house-warming, hostess, or just because gift!
* This blog post may include affiliate links for which I may receive a small compensation. Learn more about my affiliate & cookies policy here. Thank you for supporting this flowery blog! 💛🌸🌿
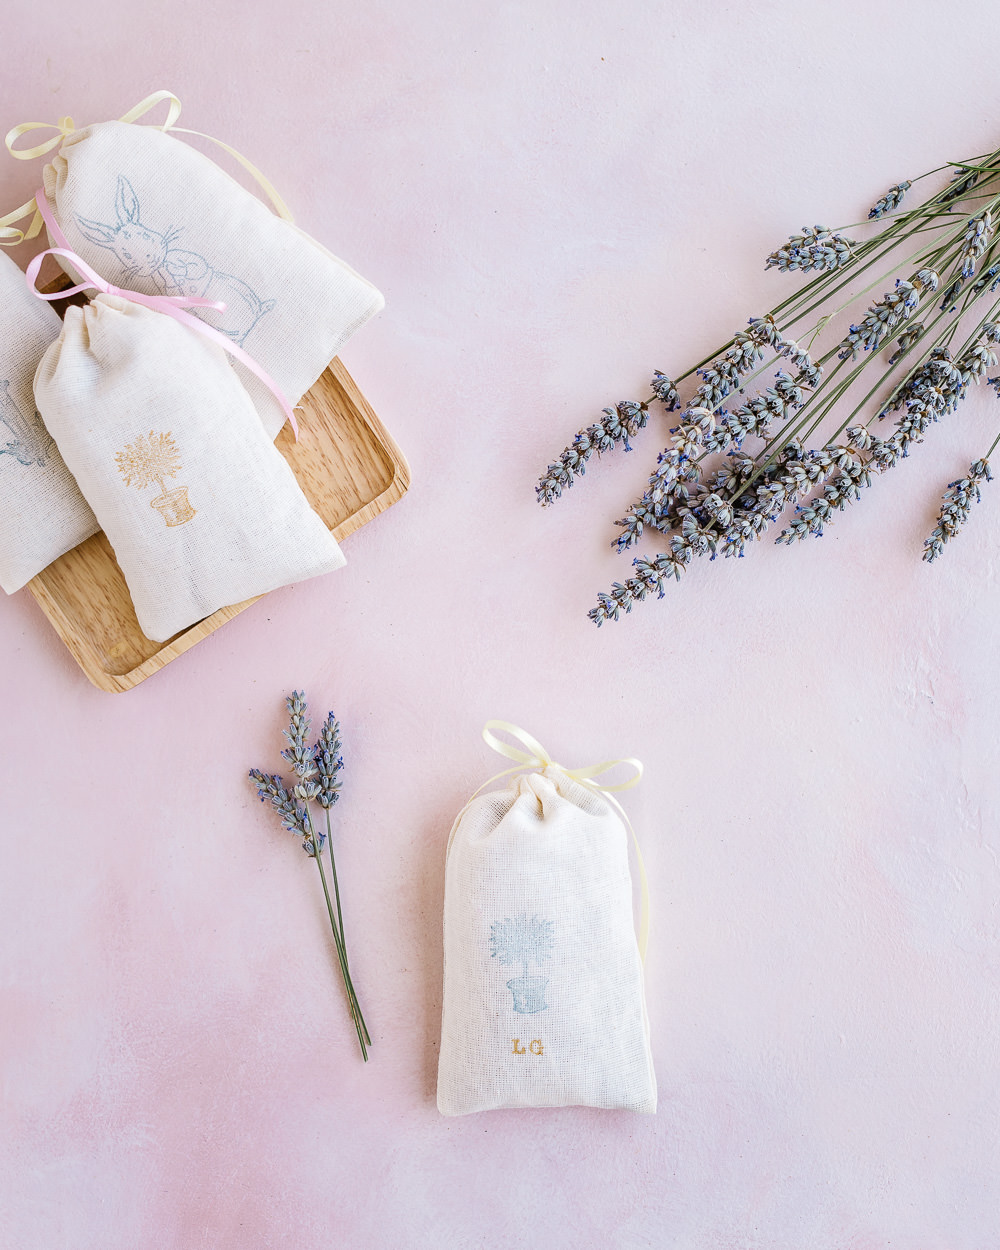
Easy No-Sew Lavender Sachets
I’ve made several different types of lavender sachets and this is the easiest one since it doesn’t require any sewing. You just need some dried lavender buds, some pre-made sachets, some ribbons to pretty it up, and some rubber stamps to personalize them if you’d like.
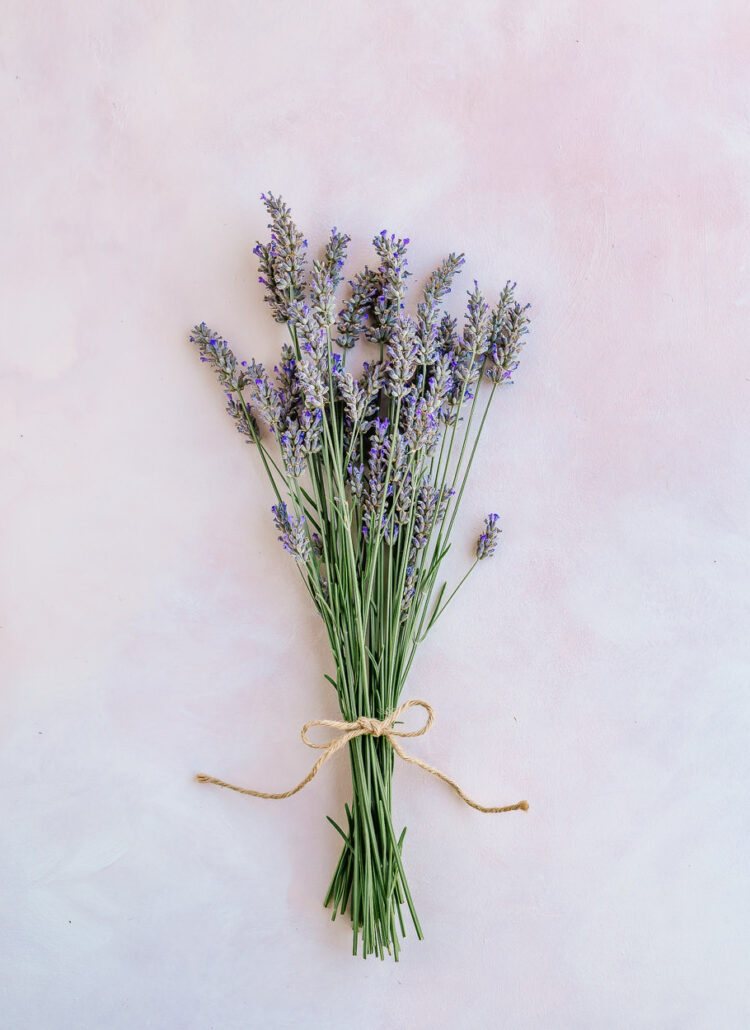
If you have lavender growing in your backyard or patio, make sure to check out my post on How to Harvest and Dry Lavender first!
DIY Materials:
- Dried lavender buds (available from Etsy or Amazon)
- Cotton sachets with drawstring (such as these from Amazon)
- Small sharp scissors (love these beautiful ones made by Gingher)
- Piece of printer paper to make a funnel
- Thin ribbons (such as these pretty ones from Amazon), or twine
- Rubber stamp(s) and ink pad of choice
- Set of alphabet rubber stamps (optional)
- Small safety pin (optional)
Obtaining Dried Lavender
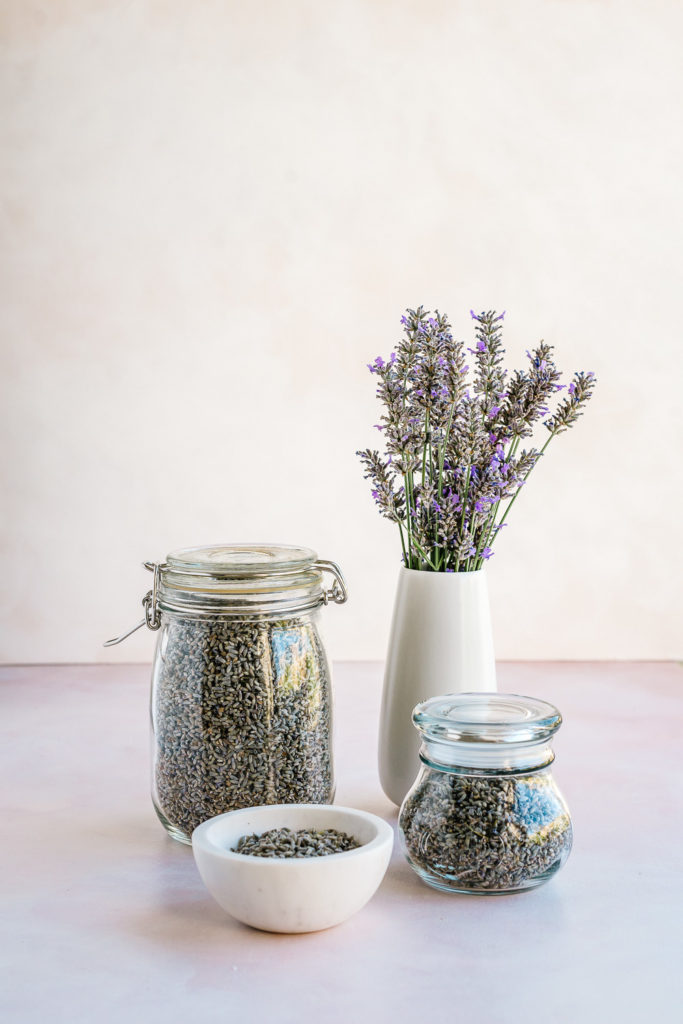
As I mention in my post on How to Harvest and Dry Lavender, it’s easy to grow your own lavender if you have a garden, or even a patio where you can have a few potted plants! English lavender (Lavandula angustifolia) is the type that is the most fragrant and most widely used for spa and gift products. You can also buy dried lavender online – just make sure to read the reviews first to make sure they’re high quality fragrant buds. These dried lavender (Lavandula angustifolia) buds on Etsy have good reviews and are from Provence! These lavender buds from Amazon are also Lavandula angustifolia buds from France.
Purchase Cotton Drawstring Sachets
For these no-sew sachets, you can purchase a bundle of pre-made ones made of cotton muslin. The material should be thin enough to allow the fragrance to come through, but not so thin that the buds will poke through. There are a number of them available for sale online, such as these 3″x4″ sachets from Amazon, and most are not that expensive. Note – if you plan on adding stamps to your sachets, make sure that the fabric is suitable for stamping. Generally, smooth cotton fabric is better than a rougher material such as linen for stamping. You can also check the reviews for anyone who has tried stamping with the sachets.
The first thing you’ll want to do is inspect the sachets that you’ve purchased and make sure that all the loose thread is trimmed and inspect the overall quality. This is a no-sew project, but some of the sachets *may* require some stitching repairs. I love my Brother sewing machine for these type of quick fixes even though I’m no expert seamstress. The model I have includes an embroidery function and seems to be out of stock, but there are several other models that have good reviews, such as this tabletop computerized model.
Replace the Sachet String
The sachets you’ve purchased likely have a basic string drawstring. For gifts, you’ll want to pretty them up a bit by replacing the string with either a pretty ribbon or perhaps some twine to give it a rustic look.
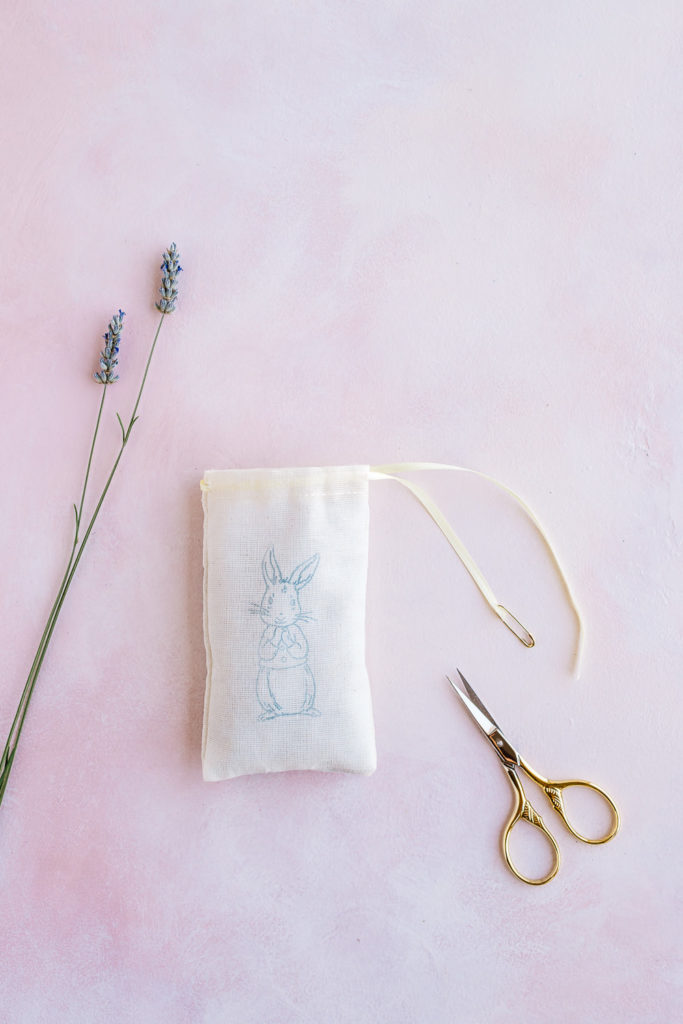
For string replacements, I simply tie the old and new strings together and pull the old one out while pulling the new one in. However, if the fabric is too soft or if the openings are too small, I pull the old string completely out first, then hook a small safety pin into the ribbon to guide it in. The string opening may need to be widened a bit with scissors. For these sachets, I use thin ribbons since the openings are small. You can find plenty of options from Amazon, Joann’s or Michael’s. These thin satin ribbons from Amazon come in so many pretty colors. I love my tiny, beautiful and sharp Gingher scissors from Amazon for these types of fixes!
Customize with Stamps
Aside from replacing the ribbons, another way to easily customize and personalize these sachets is with stamps! As I mentioned above, a smoother cotton fabric will be best for stamping. Rubber stamps are readily available from Amazon, Joann’s or Michael’s. Just make sure that the stamp will fit on the sachets that you’ll be using.
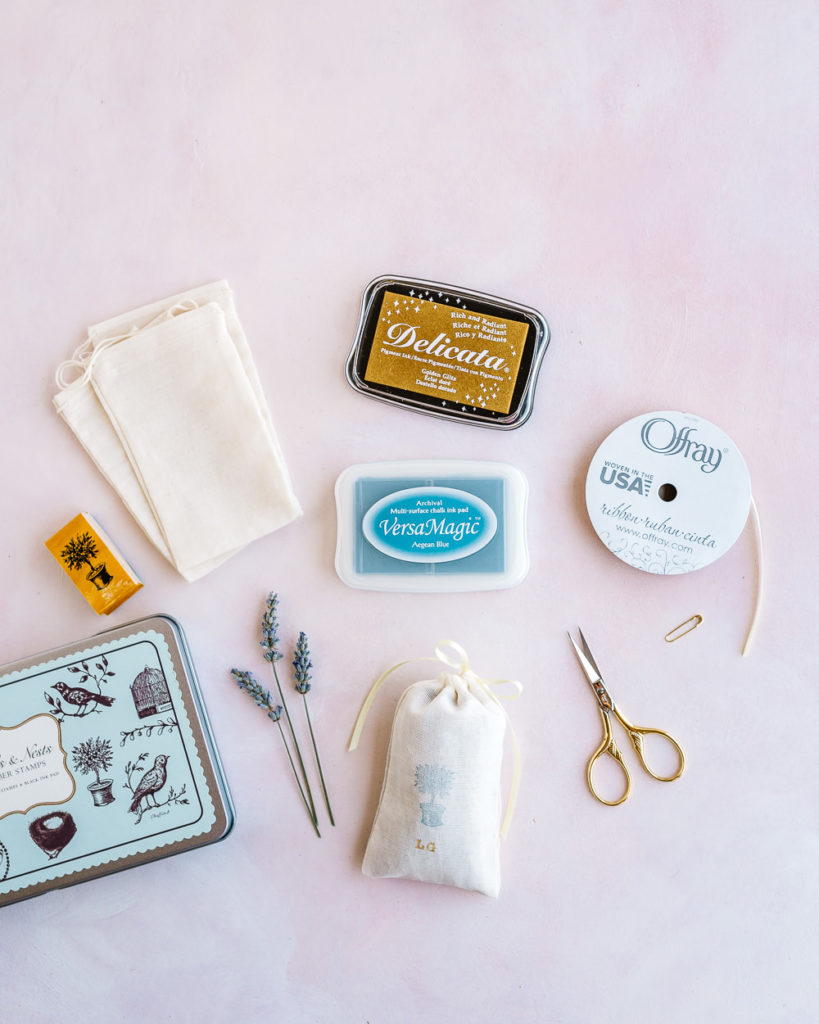
One of my favorite stamp sets is this Birds & Nests set from Cavallini, shown above, which is sold out but still available on ebay. I also really like this rubber stamp set with vintage floral designs.
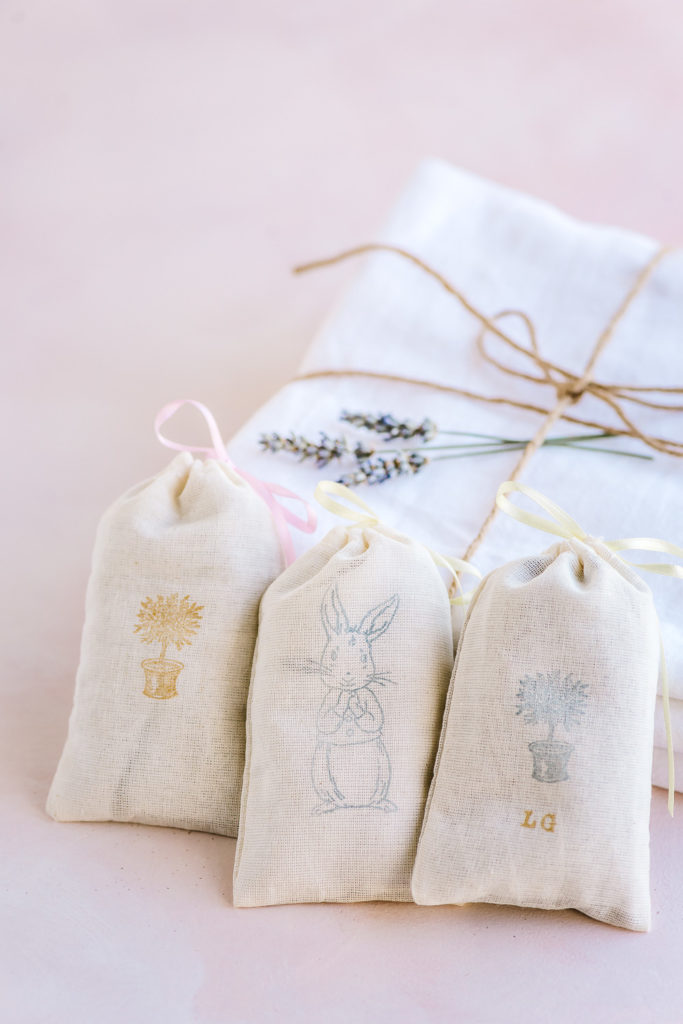
My favorite ink pads are Memento Luxe, VersaMagic, and Delicata, all from the Japanese company Tsukineko and all of which have rich and consistent color. I especially love the Aegean Blue from VersaMagic, and the Golden Glitz from Delicata which I used for all the sachets shown on this post.
Another way to customize your sachets is by adding the recipient’s name or initials to the sachets. You can find a set of alphabet rubber stamps readily from Amazon. I like to just do initials since the letters can be hard to line up if there’s more than two of them. This is a wonderful way to personalize the sachets and make them even more special as gifts!
Fill the Sachets with Dried Lavender
After you’re customized the sachets with your choice of ribbon and stamps (or any other decorations you like!), it’s time to fill the sachets with lavender buds. I’ve found that the easiest and least messy way to fill them is by using a rolled-up piece of paper as a funnel. (Take it from me – pouring buds directly into sachet, using a spoon, or using a regular funnel with a small opening will result in quite a mess!) Simply roll up a regular sheet of printer paper, leaving a medium sized hole at the bottom (1 – 1.5 inches), and tape together.
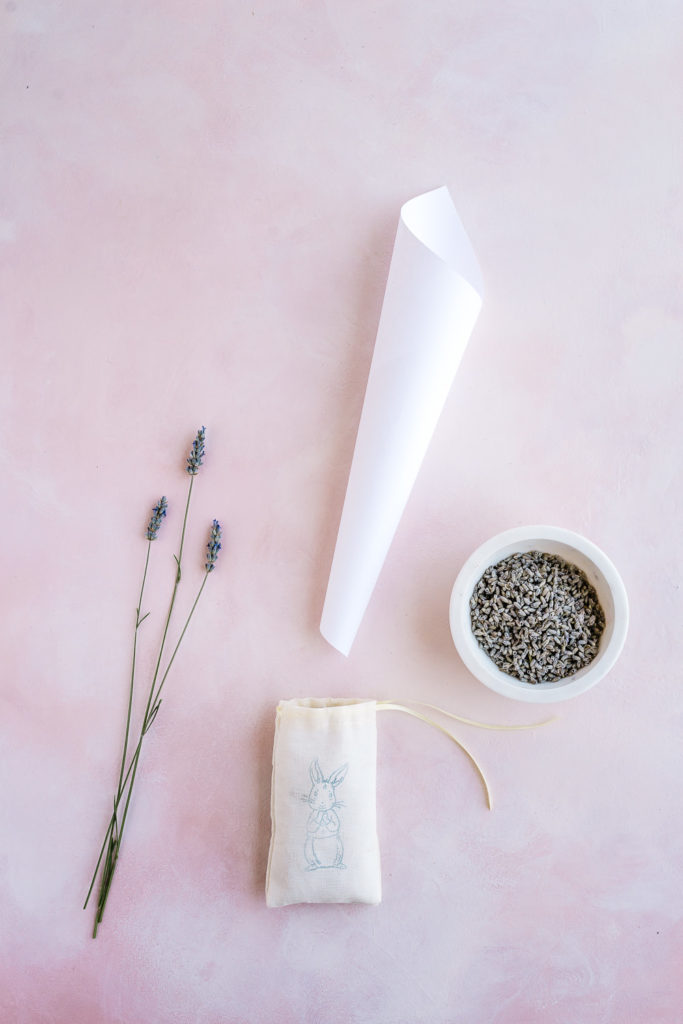
Place the smaller opening into the sachet and pour the dried buds from the container into the sachet until full. Place the paper funnel in the lavender buds container in between fillings. Tighten and tie the ribbon when done and voila! Your DIY lavender sachet is done and ready to delight your lucky friends!
Lavender Buds & Sachets
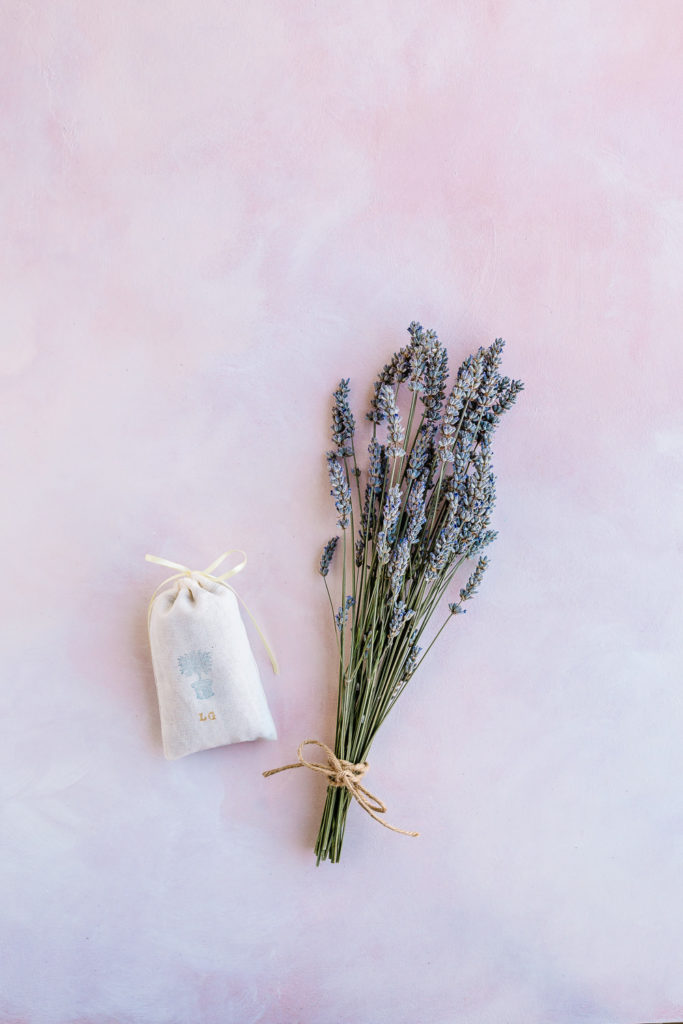
Love lavender sachets but short on time? Here are some dried lavender buds for purchase, and also some pre-made sachets that you may like!
My YouTube Channel!
I’ve started a YouTube channel! If you love nature, flowers and gardens as much as I do, make sure to give me a follow there! 😊🌸🌿
Step Inside a Fairytale Rose Garden!
This secret rose garden is full of blooming roses, rose terraces, rose walls, rose pillars, and even a rose-covered gazebo straight out of a fairytale! 🌸
Thank You!
I hope you enjoyed this post! I included a summary of this DIY, along with several others, in the journal I created called The Wildflower’s Journal, inspired by the unstoppable wildflowers!

Hi, I’m Pansy!
Hello, thanks for stopping by! I’m Pansy, a California-based photographer, flower & nature lover, and travel blogger. 🌸🌼🌿
I also have a YouTube channel where I feature beautiful gardens, parks & flower fields. Make sure to follow me there if you love flowers & gardens! 😊
If you’d like to contact me, please send me an email or DM me on Instagram!
Pansy ❤️
Leave a Reply