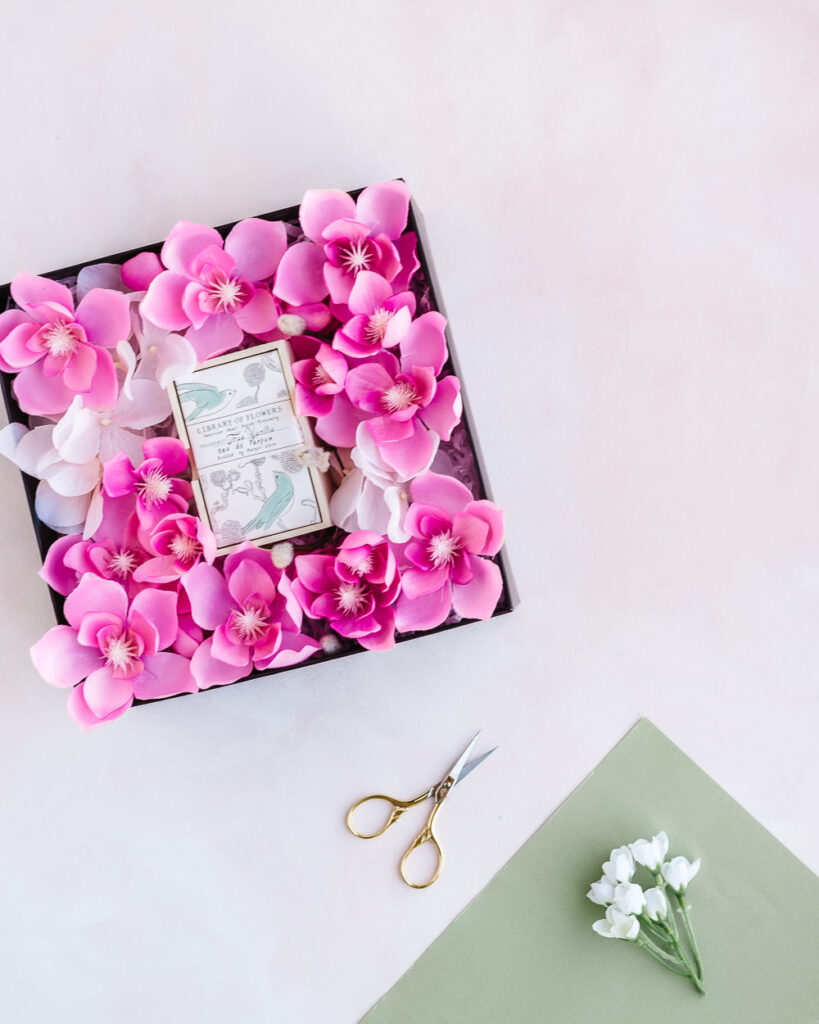
As Mother’s Day approaches, I thought I’d share a fun and easy DIY that I think most mothers would love to receive on their special day, especially if she loves flowers like I do! There’s just something about all the flowers displayed facing up like this that make them even more stunning!
This easy DIY looks similar to much more expensive versions and you can make so many beautiful variations of it. For this project, I used fabric flowers, but it can be done with fresh flowers too, with some modifications. This flower box can stand alone as a gift, or you can place a separate gift inside of it. And it’s great for any occasion, not just Mother’s Day!
* This blog post may include affiliate links for which I may receive a small compensation. Learn more about my affiliate & cookies policy here. Thank you for supporting this flowery blog! 💛🌸🌿
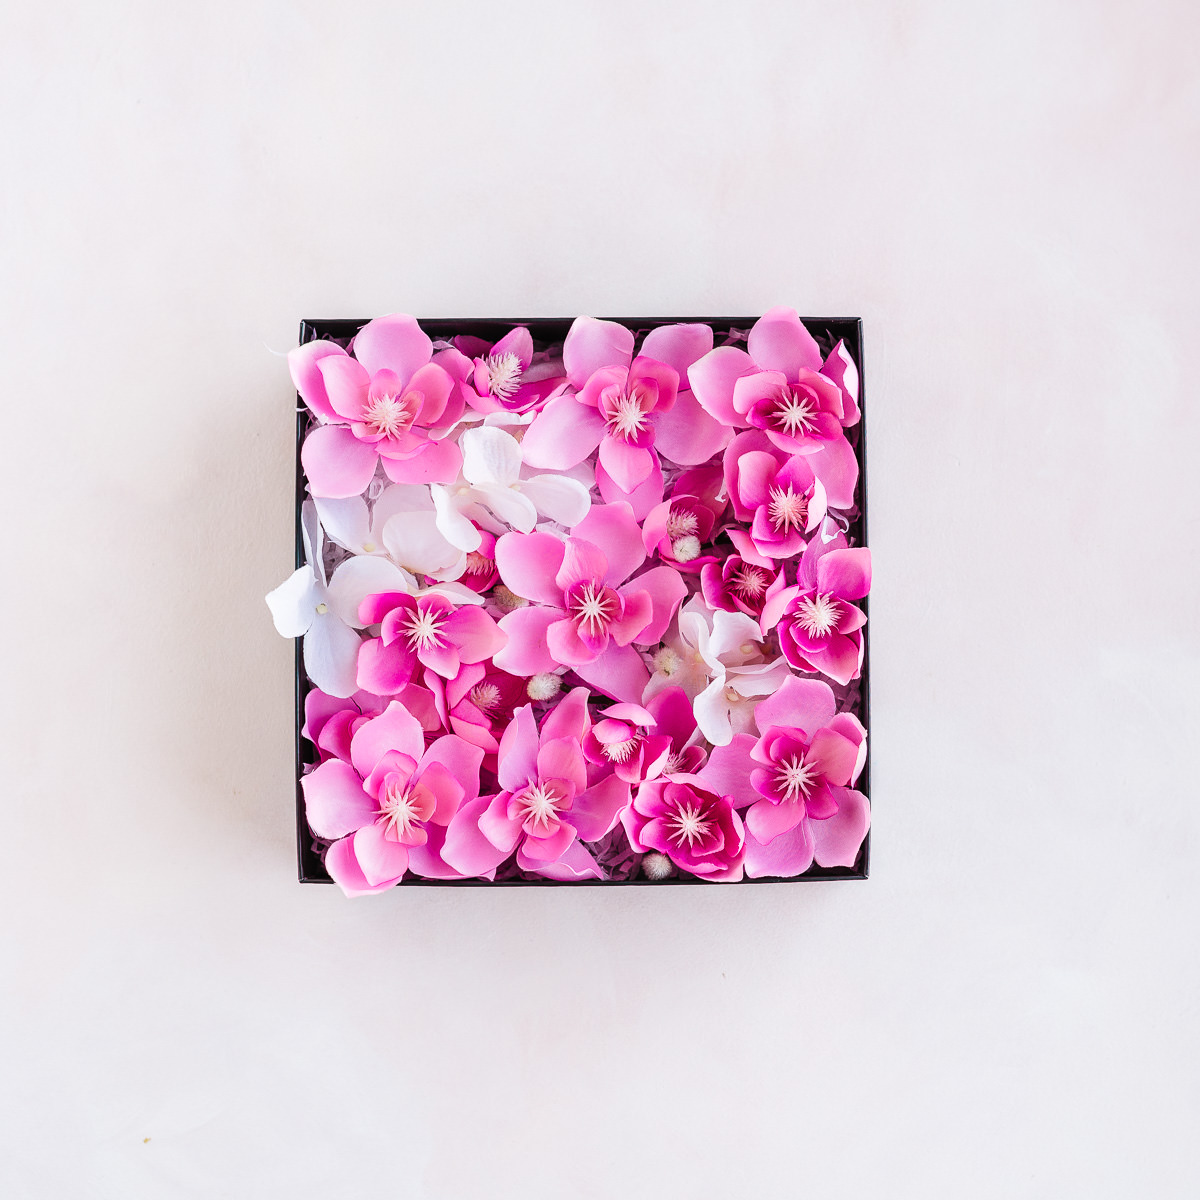
DIY Materials
- High quality fabric flowers (preferred over plastic)
- Sturdy cardboard box
- Shredded paper
- Scissors
- A gift to place inside (optional)
- Ribbon (optional)
DIY Materials Suggestions
Flowers
For a flower box, I recommend choosing flowers with somewhat large petals as the main flowers, such as magnolias, roses, peonies, orchids, ranunculus,etc. These will show better, and you will need less of them to fill the box.
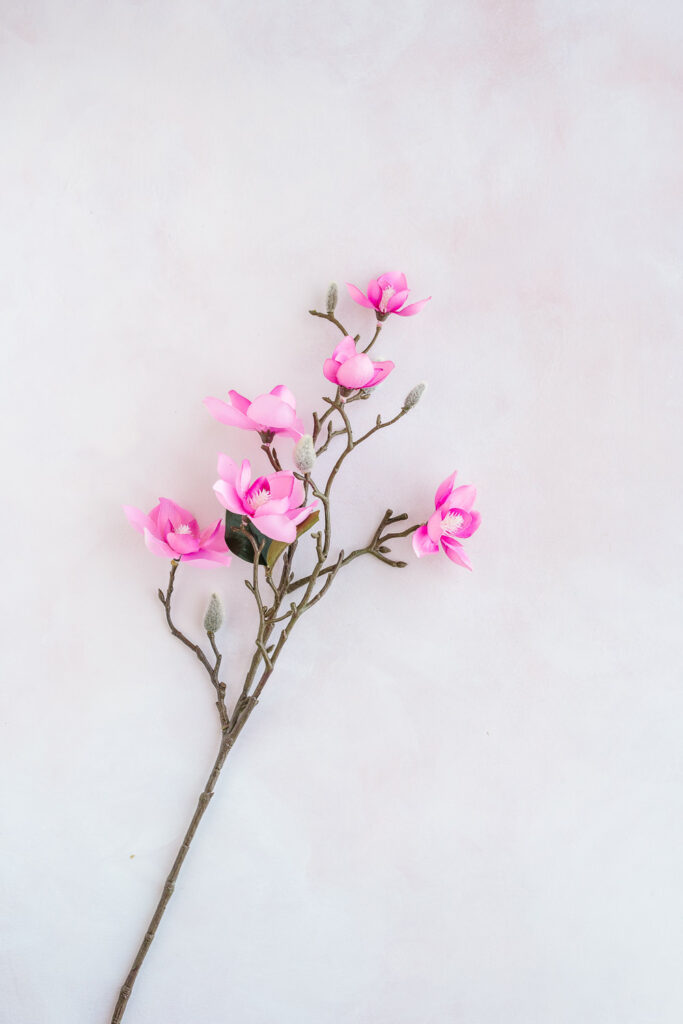
The main flowers that I used here are 3 magenta magnolia stems from Michael’s (stores may have more color options). They are high quality and made of polyester fabric with tonal variations for a more realistic look. Since all the flowers will be facing up in a box, it’s important to use high quality faux flowers.
You’ll want to cut the flowers to be slightly shorter than the box that you’ll be using. My box is 4″ high. so I cut my flowers to be about 3″ each.
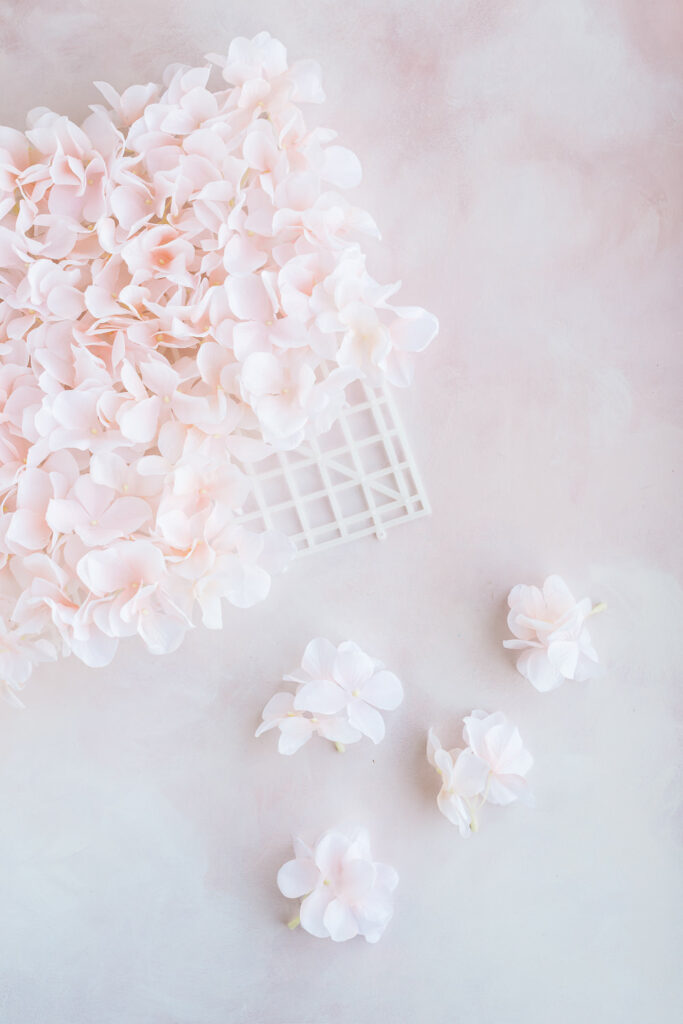
For contrast and visual interest, I also used some pieces from a coral hydrangea flower mat, also from Michael’s (purchased in store). You can use any lighter shade of flowers to provide a contrast to the main flowers and to use as a filler if needed.
In general, I prefer fresh flowers, but for a flower box, I actually think artificial flowers are preferable since they’re much easier to handle in a cardboard box container. If you want to use fresh flowers, I highly recommend that you use these plastic flower stem keepers (from Amazon) to keep the cut flowers fresh with a bit of enclosed water.
Here are some sources of good quality and affordable artificial flowers:
Michael’s
Amazon
Target
Joann’s
Etsy
Other sources that are a bit more expensive:
Pottery Barn
Crate & Barrel
Terrain
Cardboard Box
For the box, I first recommend re-purposing any sturdy cardboard box that you already have. (I always make a point to save any nice packaging boxes that I unexpectedly receive from an online purchase.) If you have a sturdy one that doesn’t look great on the outside, you could try to cover it with gift wrapping paper, or just plain white paper even.
If you don’t have any suitable boxes available, you can find inexpensive gift boxes and photo boxes at Michael’s, or these craft hobby boxes from Amazon would be a good option.
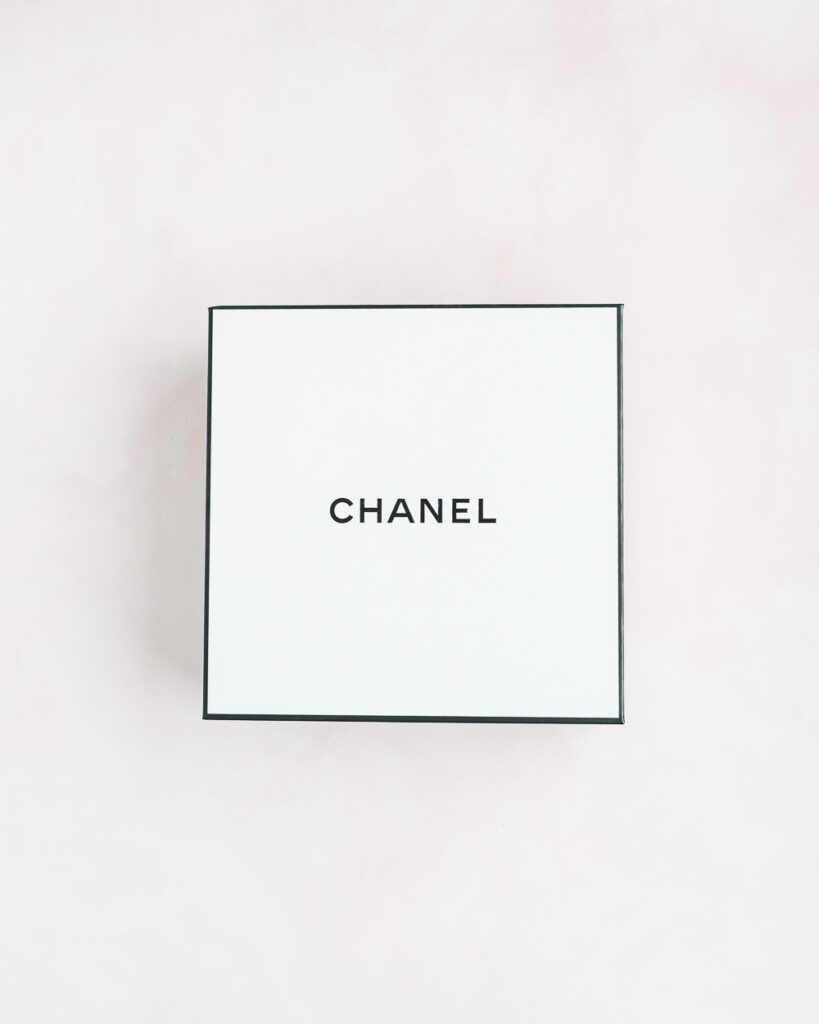
For this project, I re-purposed a beautiful Chanel box that came with a lipstick that I purchased from their online store. I bought a single lipstick that wasn’t available at Sephora, and received free two-day shipping, samples, and a beautiful keepsake box! (and yes, it really makes me want to order from them again!)
This box is 8.75″ wide and long and 4″ deep, and perfect for a flower gift box! I also have some beautiful re-usable gift boxes that I purchased from an after Christmas sale at Target that would also work great.
Shredded Paper Base
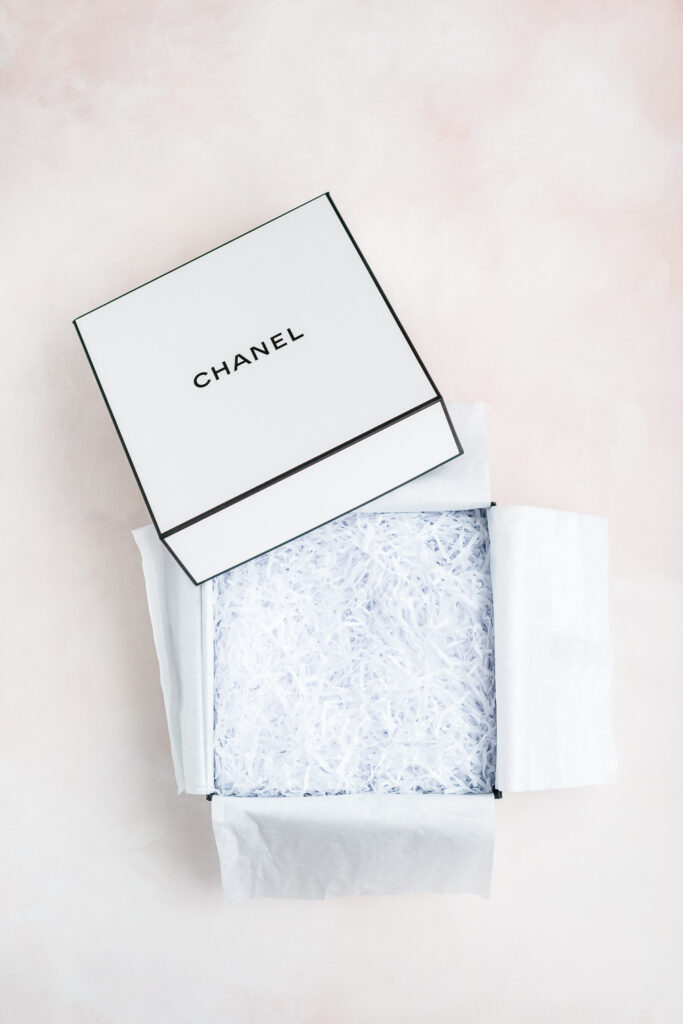
For the base of the flower box, I recommend using packed shredded paper. Some online purchases come with it, so you may already have some around your home. You can also shred some paper yourself, or cut some paper into small strips and scrunch them into balls before placing inside the box. Fortunately, my Chanel gift box came with shredded paper, so I didn’t need to look any further! I simply removed the extra sheets of tissue paper surrounding the shredded paper.
I recommend using shredded paper over floral foam because floral foam typically contains carcinogenic substances such as formaldehyde and carbon black that are also skin irritants.
Assemble the Flowers
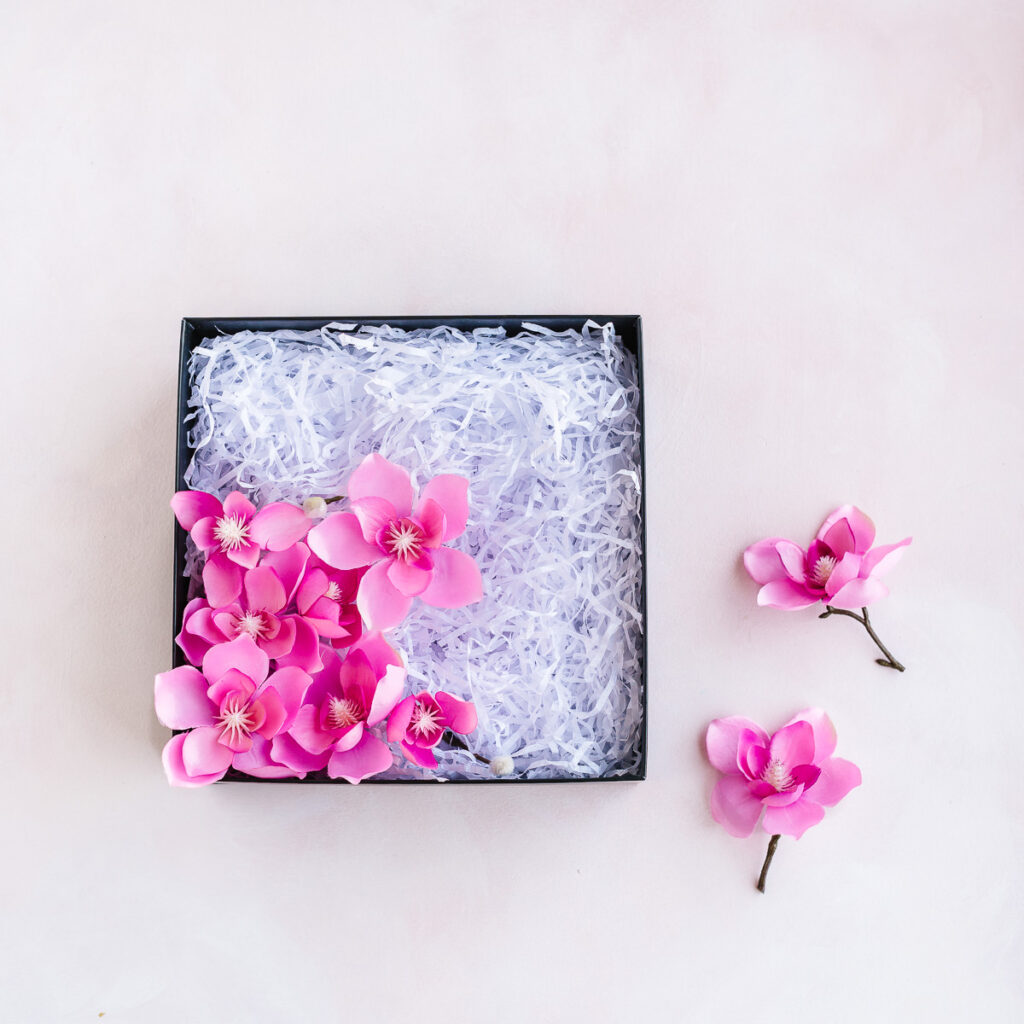
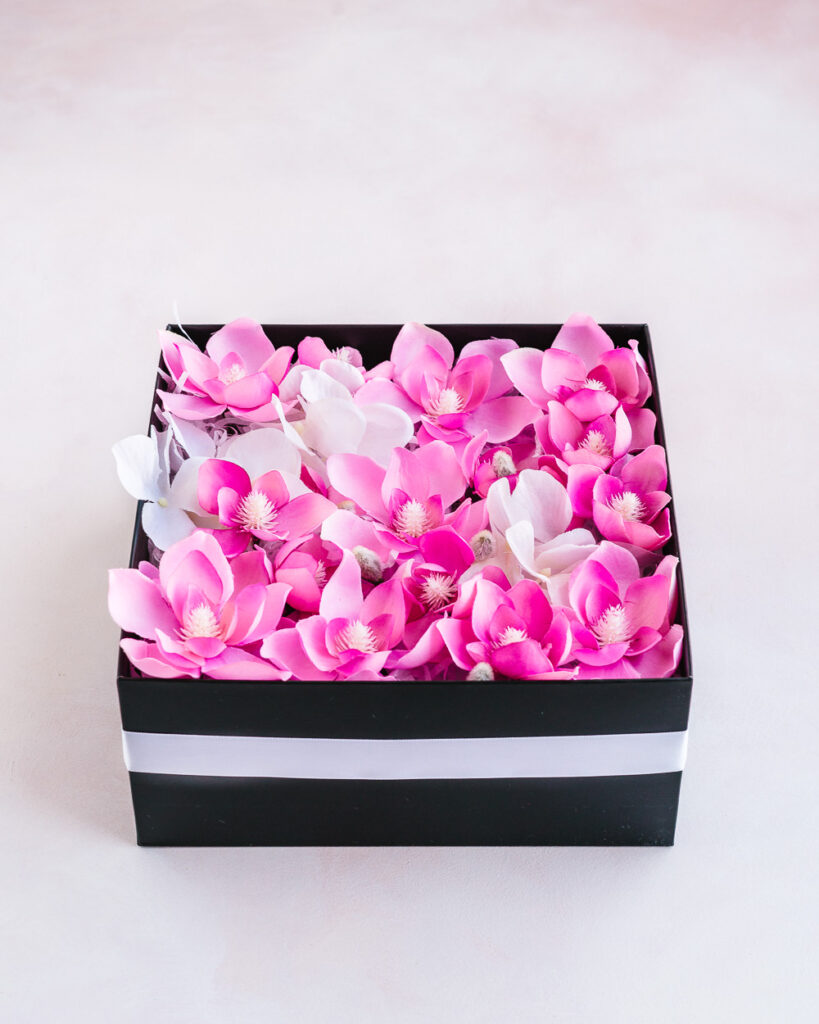
After you’ve assembled all the materials and cut your flowers, it’s time for the fun part – creating and designing the flower box! I recommend that you first place some large pieces in the center and in the corners, then fill the rest of the box with the smaller pieces and with the contrasting color pieces. You may want to create small wells in the shredded paper with a pen or chopstick to hold the flower pieces better. I also recommend that you not push the flowers into the shredded paper too much – leave some of them slightly above the box height to create dimension and to show off the petals more.
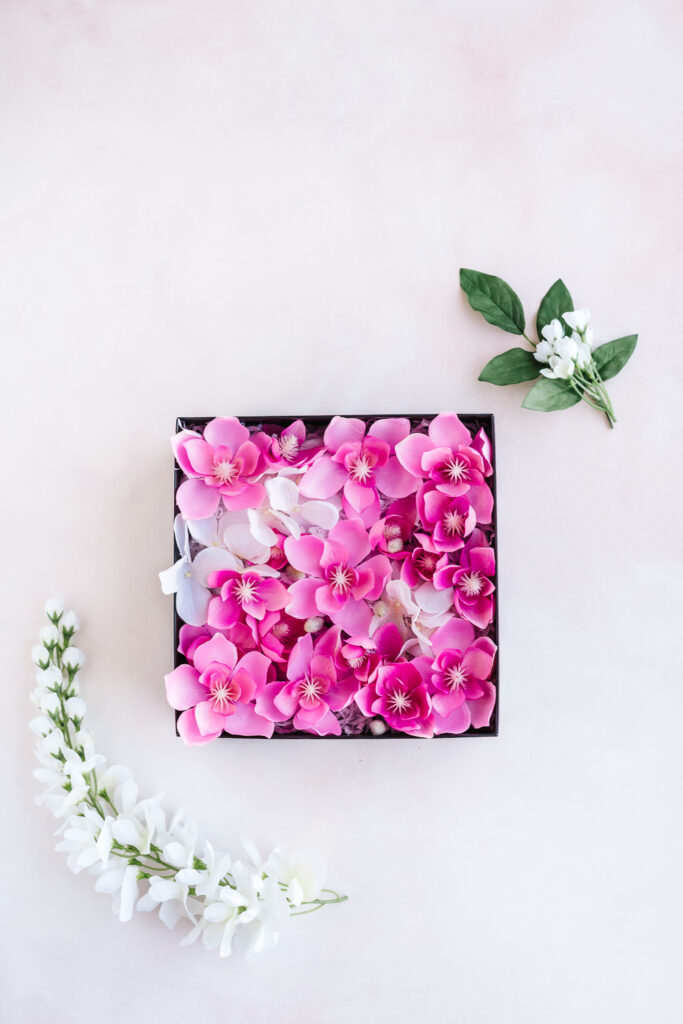
If you like, you could add a piece of ribbon around the box.
Add a Gift
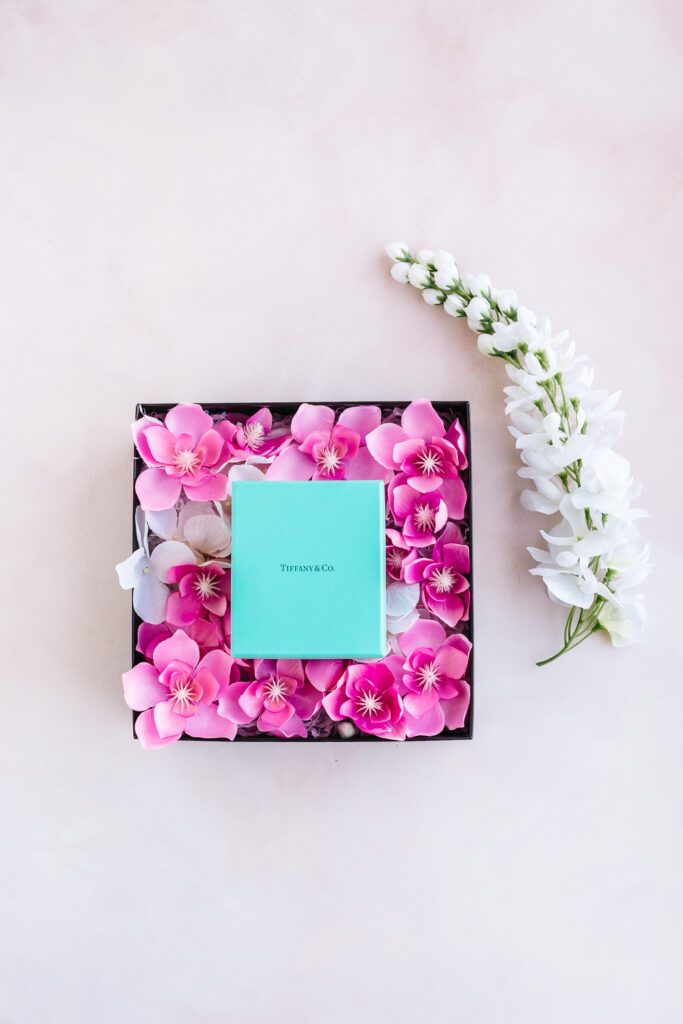
I personally think that a flower gift box can stand on it’s own as a gift, but it would work great as part of a gift box also, with the beautiful flowers surrounding a gift in the middle. Simply remove the center flower(s), push down the shredded paper beneath, and nestle your gift in between the flowers! Or, to preserve the flower arrangement for disply, simply place the gift box on top of the flowers!
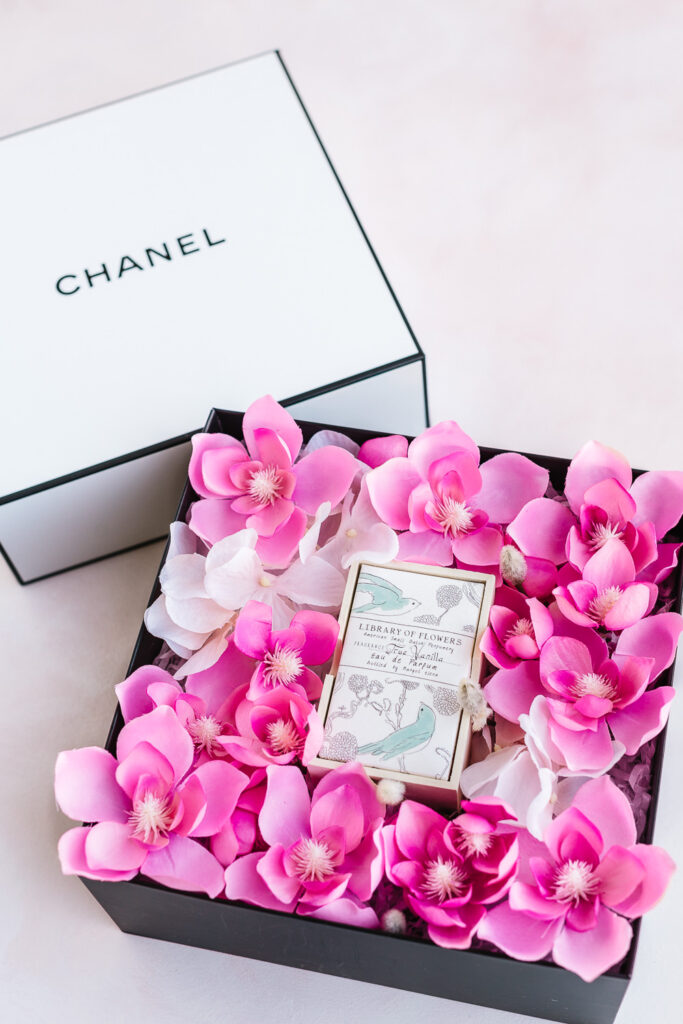
There you have it! A stunning flower gift box that any flower lover would love to receive, either on its own or as part of a gift box with another item!
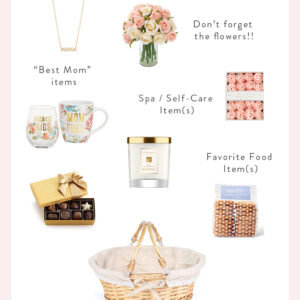
For more flower-centered gift wrapping inspiration, please check out my posts on Eco-friendly Holiday Gift Wrapping and Nature Inspired Gift Wrapping! And for Mother’s Day gift basket ideas, check out my post on how to assemble a perfect Mother’s Day gift basket!
Hi, I’m Pansy!
Hello, thanks for stopping by! I’m Pansy, a California-based photographer, flower & nature lover, and travel blogger. 🌸🌼🌿
I also have a YouTube channel where I feature beautiful gardens, parks & flower fields. Make sure to follow me there if you love flowers & gardens! 😊
If you’d like to contact me, please send me an email or DM me on Instagram!
Pansy ❤️


Leave a Reply