If you’ve looked around my blog, you may have noticed that I love flowers!! So it may come as no surprise that I also love using flowers for DIY eco-friendly gift wrapping! I mentioned in my post on eco-friendly holiday gift wrapping that flowers, leaves, and berries are great alternatives to traditional one-time-use gift decorations such as plastic bows and ribbons. Today, I’ll show with you how easy and fun it is to gift wrap with flowers and leaves and share some examples with you as well. The best part is that these work for all gifting occasions, not just Christmas! An added bonus is that you get to work with pretty flowers and leaves. What can be better?
* This blog post may include affiliate links. Learn more about my affiliate & cookies policy here. Thank you for supporting this flowery blog! 💛🌸🌿
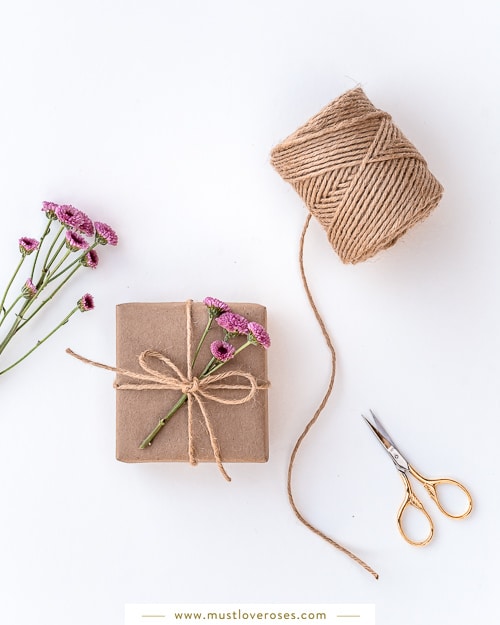
Useful Materials
- a variety of flowers, leaves, vines, fruit, berries, etc
- twine or reusable ribbon
- solid colored paper, such as kraft paper rolls
- clear tape or washi tape
- sharp scissors
Sources of Flowers and Leaves
Some possible sources for all-natural gift toppers include:
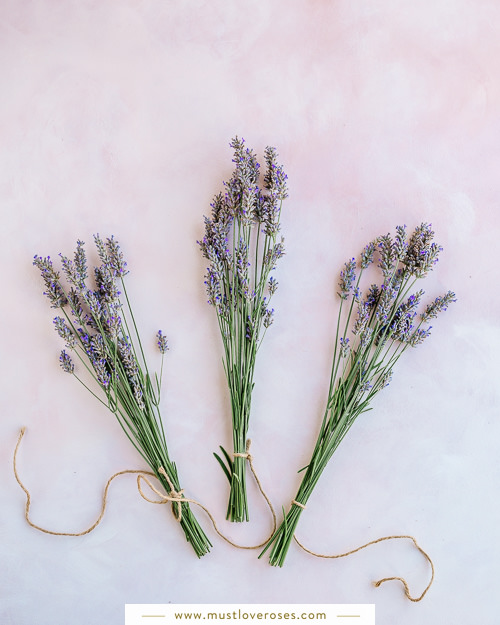
- Flowers that you previously dried, such as lavender (make sure to read my post on How to Harvest and Dry Lavender!)
- Houseplants
- Backyard
- Neighborhood trees
- Neighbors/friends with gardens
- Grocery store flower/plants department (I get most of my houseplants and cut flowers from Trader Joe’s!)
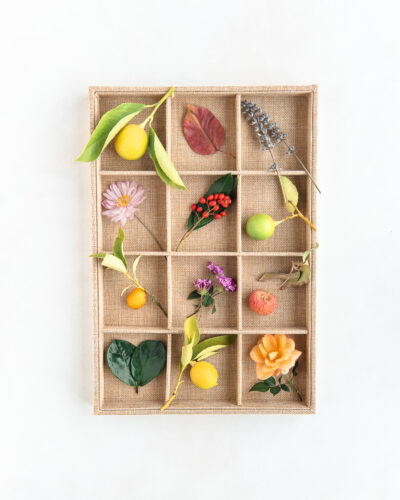
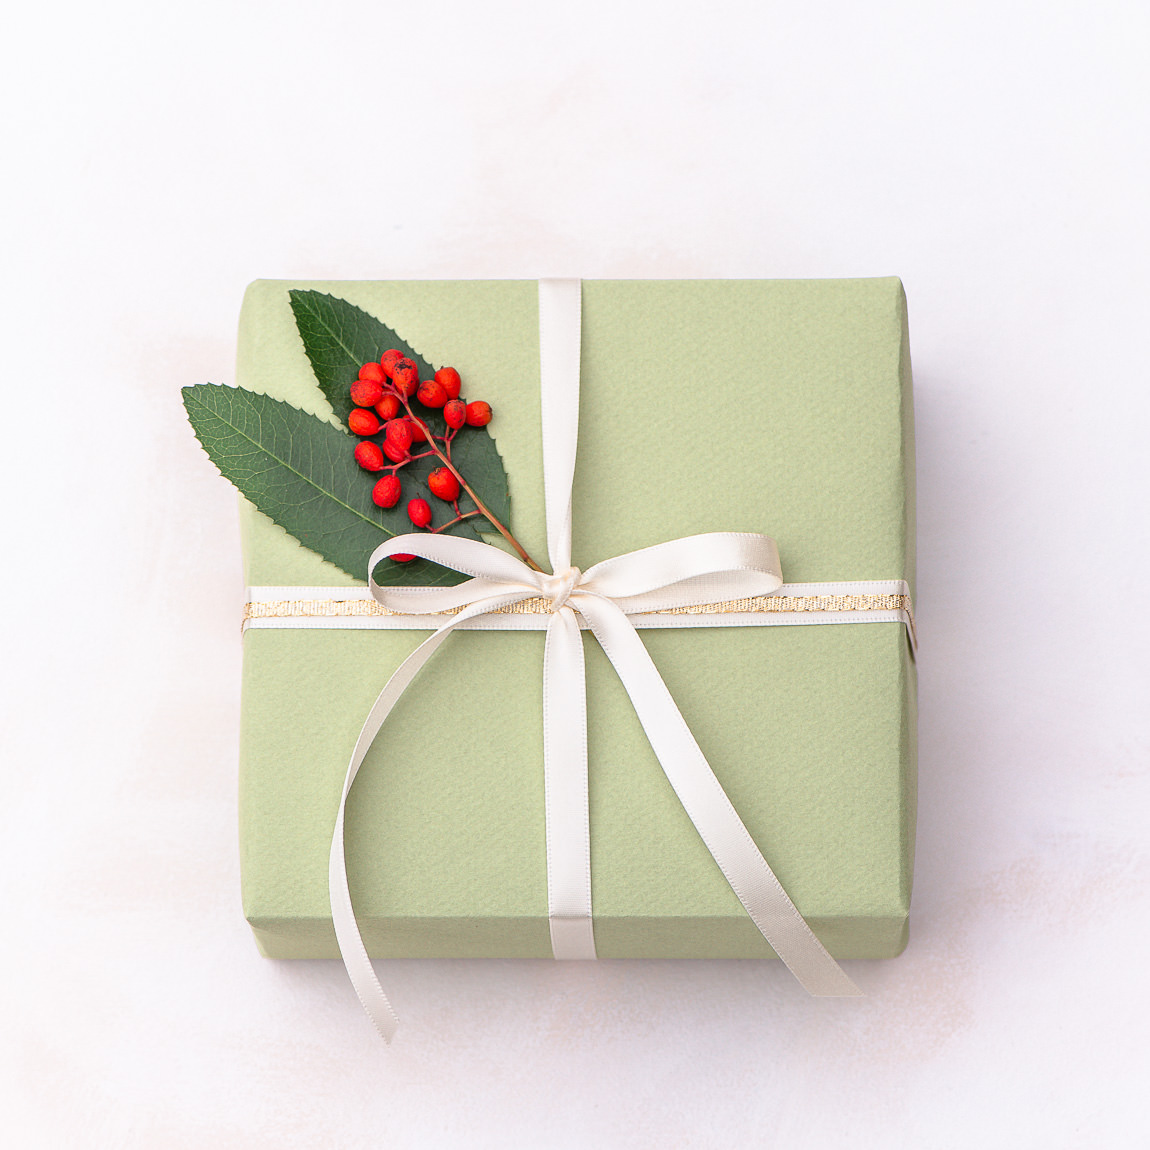
The tray above shows some of the materials that I found on a scavenger hunt inside my home, in my backyard, and in my neighborhood: leaves from a houseplant, small lemons, kumquat, fruit from a dogwood tree, red berries from a neighborhood sidewalk tree, a baby rose, lavender that I had dried from earlier in the year, and neighborhood tree leaves.
Tip – Flatten thin leaves under a book or tray overnight or longer so that they don’t curl up as they dry throughout the day.
Wrapping Your Gifts
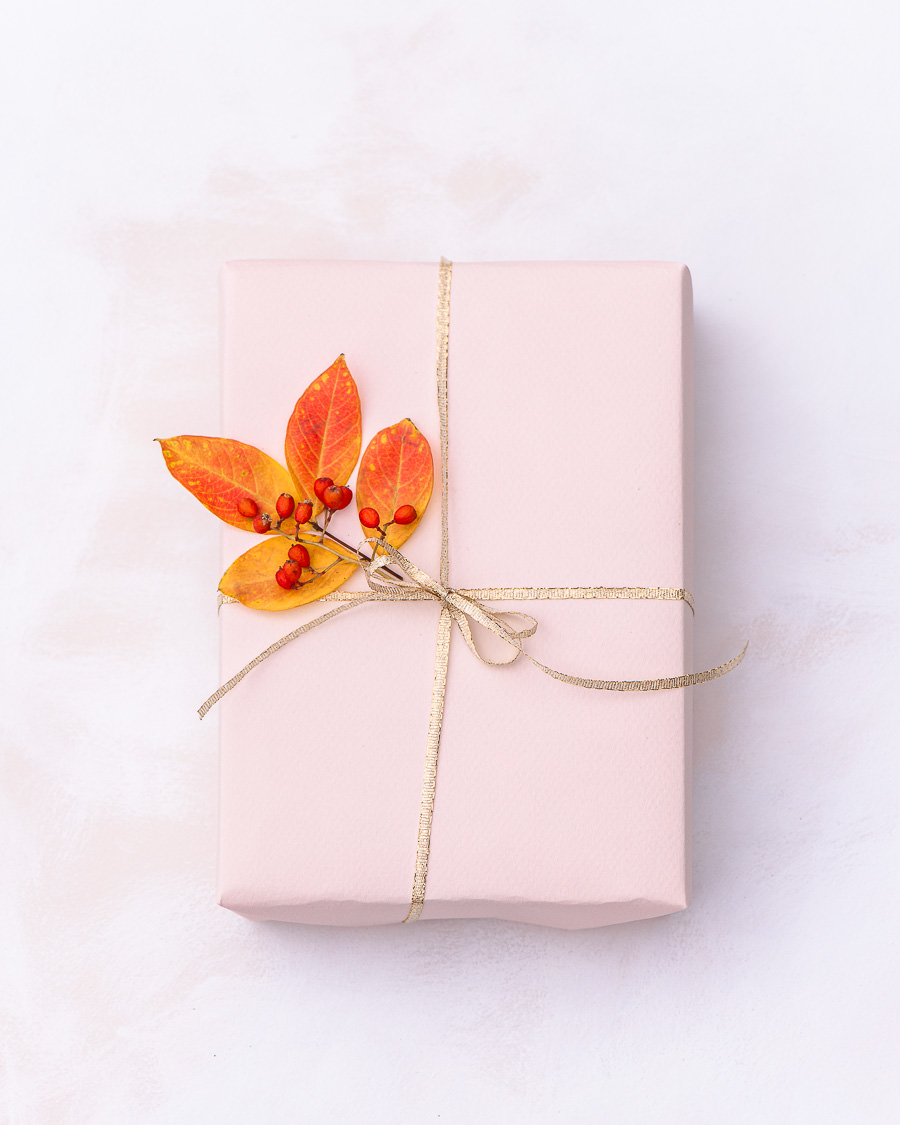
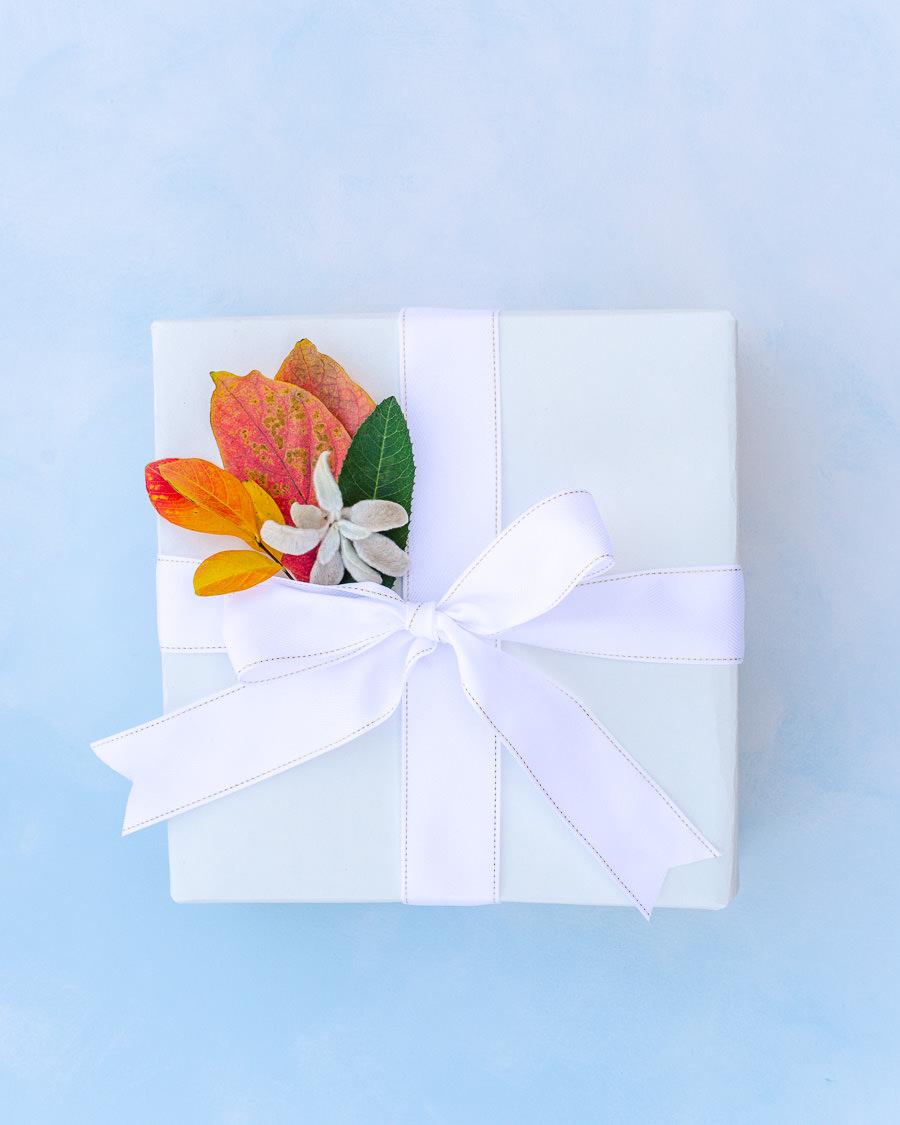
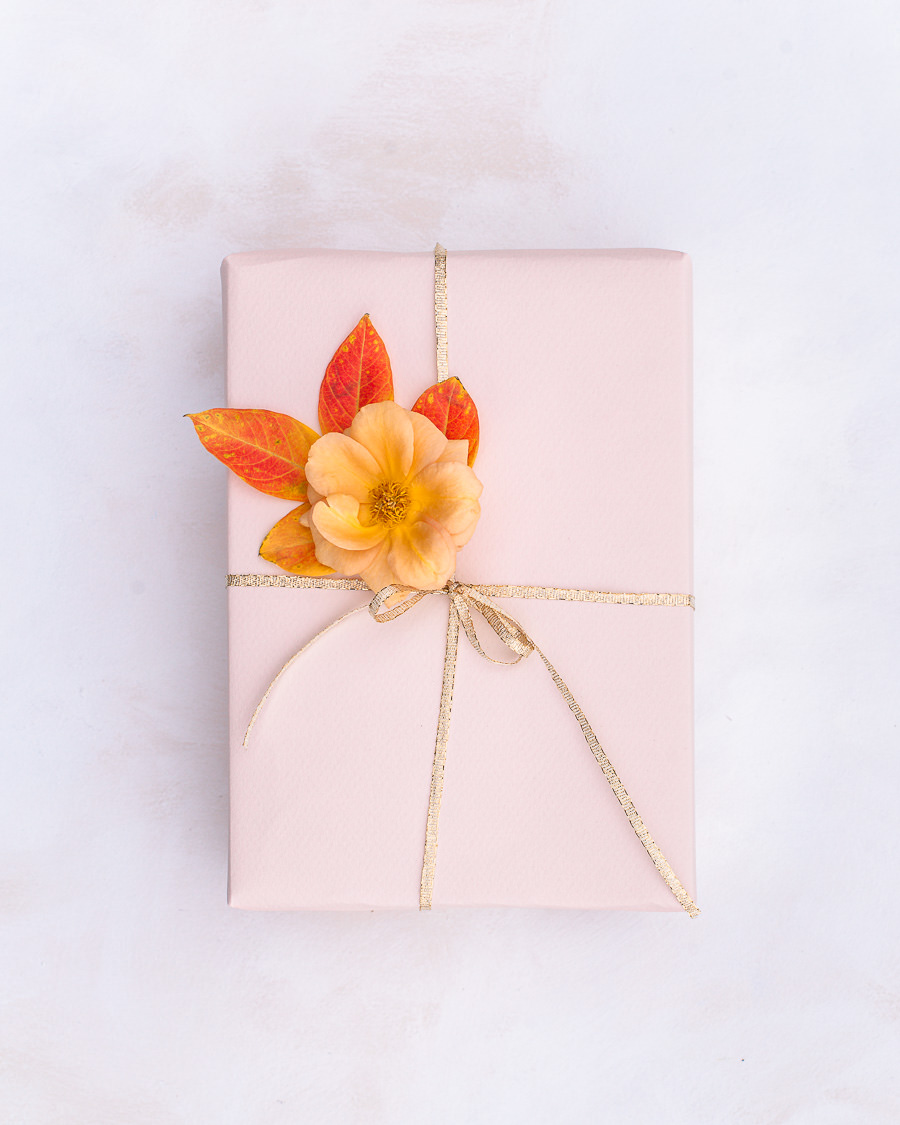
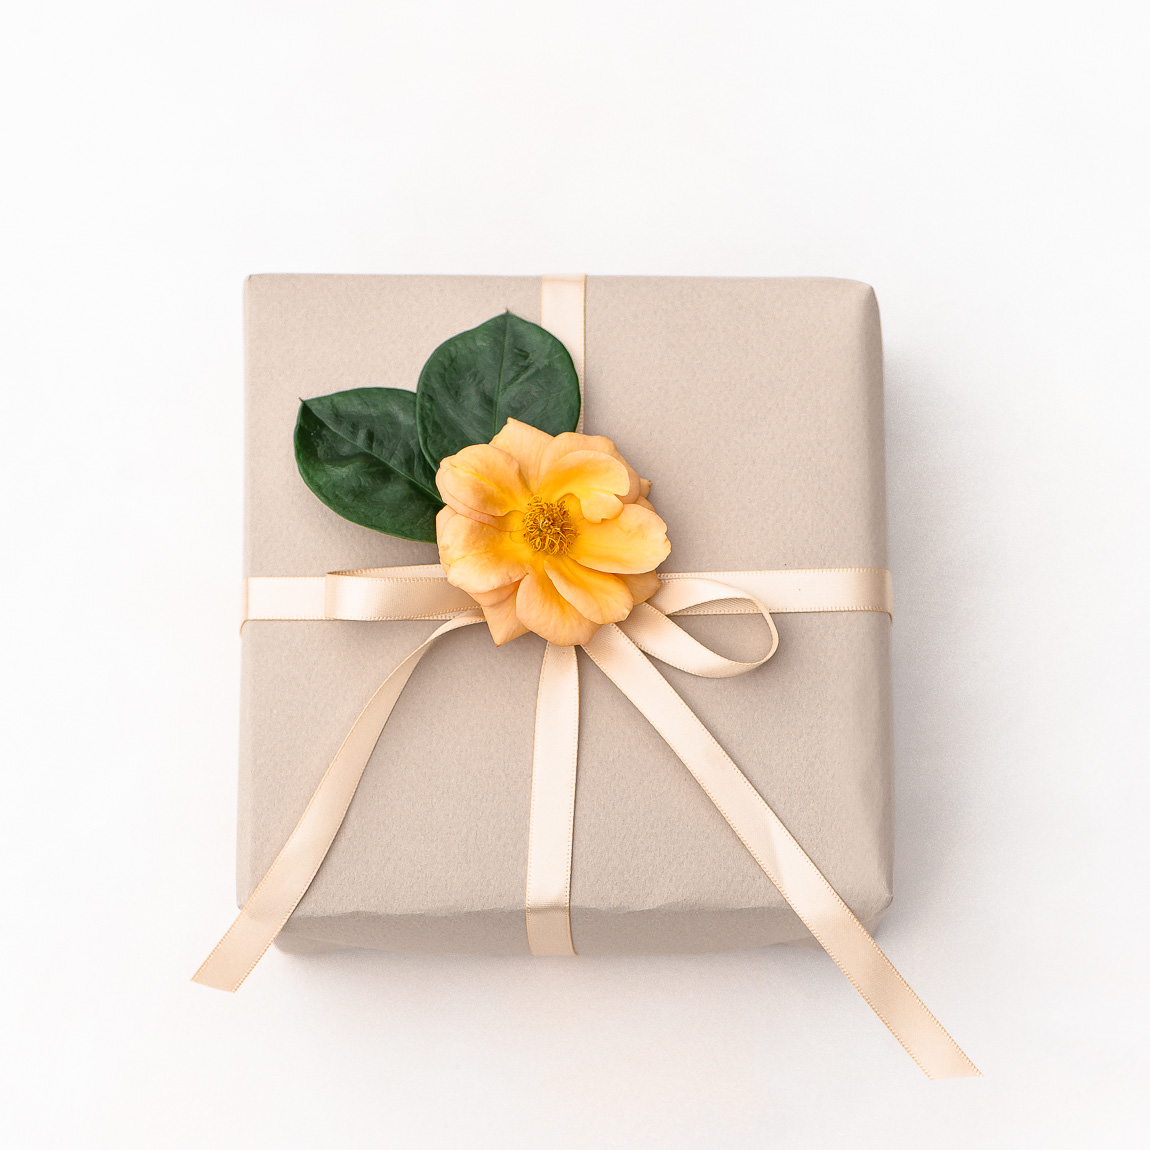
To start your gift wrapping, I recommend using solid colored kraft paper or colored drawing paper, which make a great “canvas” for your beautiful toppers. They’re also recyclable or even compostable! Ikea also has an economical roll of children’s drawing paper that works great for gift wrapping also.
Tie your gift with a re-usable ribbon or twine. I have a whole collection saved from past gifts, department store purchases, and ones I purchased from Joann’s, Michaels or Amazon.
Now for the fun part – start arranging your materials on your gift! This is where you can use your creativity to create your work of art! It can be as simple as inserting a few stems of fresh or dried flowers, or you can layer on a variety of shapes, sizes, and colors for a striking combination.
Use a bit of tape to hold them in place if needed. Make sure they are removed when composting the flowers and leaves afterwards! They can be recycled along with the paper, or placed in the trash bin.
Tips for Using Flowers + Leaves for Gift Wrapping
- Dried flowers such as lavender work great for gift toppers, plus they smell great and can be kept for a long time in a vase!
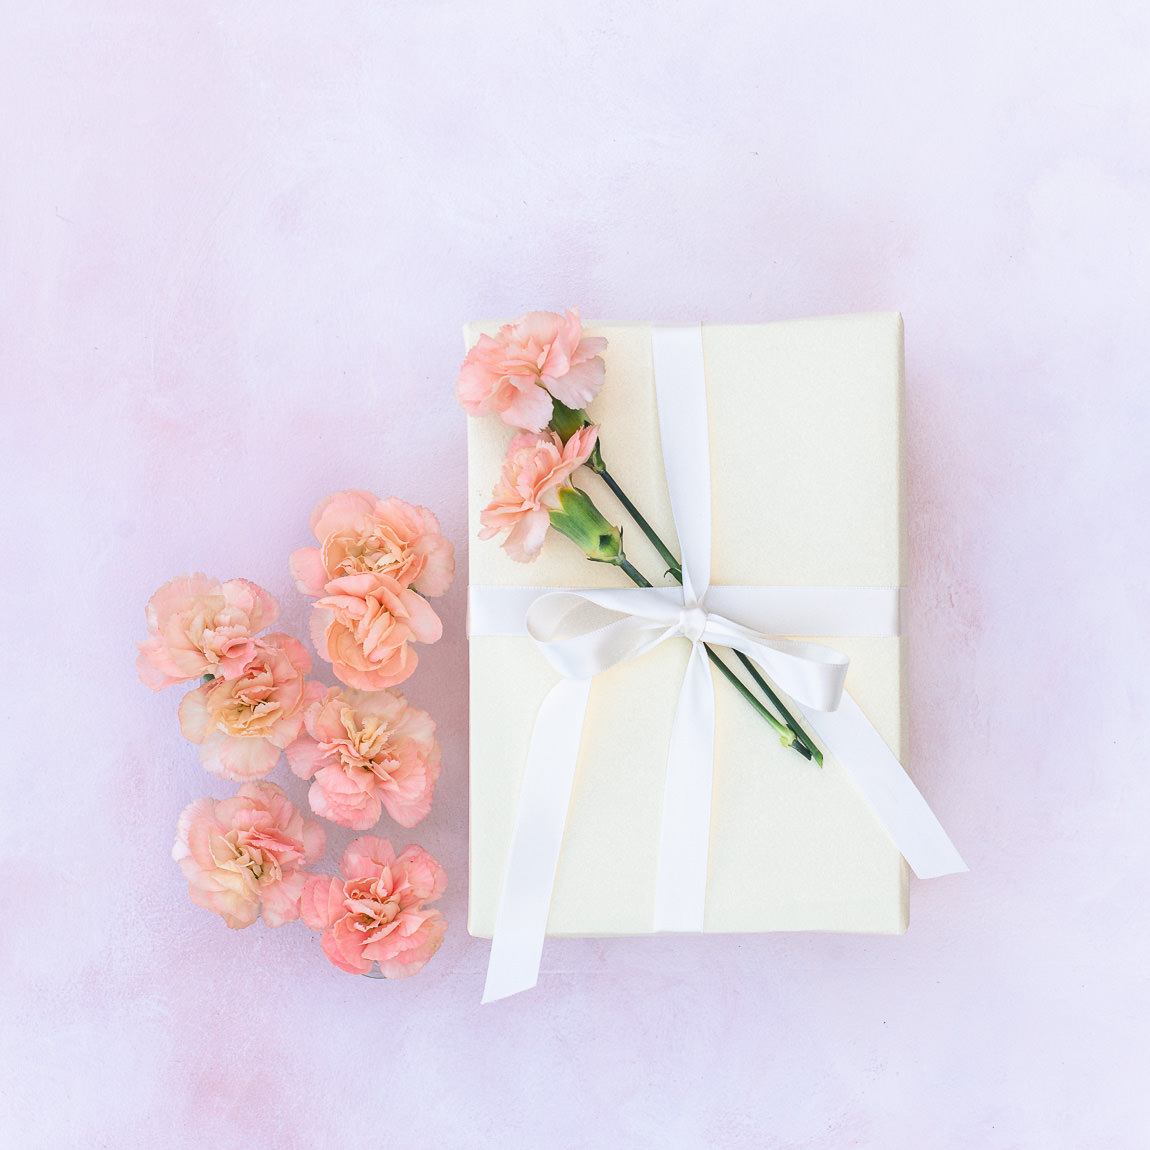
- For fresh flowers, choose sturdier ones unless you’re preparing and presenting them soon. Carnations are a good option and are usually inexpensive to buy at the grocery store.
- You can use more delicate flowers such as roses or orchids if you’re able to prepare and present them soon afterward. Otherwise, the flowers may wilt or become damaged (see tip below on keeping them fresh).
- Including the stem will make flowers more sturdy and easier to place into the ribbon or string.
- Flatten thin leaves under a book or tray overnight or longer so that they don’t curl up as they dry throughout the day.
- Or, choose sturdy leaves that will retain it’s shape and color for a few days. The leaves from my “ZZ” houseplant (from Trader Joe’s) are thick, glossy and perfect.
Keeping Flowers Fresh
To keep cut flower decorations fresh, you can put them in the refrigerator if you’re preparing them ahead of time. You can tie small bundles together as toppings, then wrap them loosely in a damp paper towel and cover with a plastic container or bag. This should keep them fresh for a few days.
Perks of Gift Wrapping with Flowers + Leaves
In addition to creating and presenting beautifully wrapped gifts with colorful flowers and leaves, there are many other advantages to using natural elements to decorate your gifts!
- Brings joy – flowers and nature make people happy!
- Uses pieces of nature instead of mass-produced decorations
- Compostable
- (often) free
- Showcases the beauty of nature – the colors, shapes, textures of plants are all so beautiful and fascinating!
- Gathering materials will involve being near plants vs a crowded store
My YouTube Channel!
I’ve started a YouTube channel! If you love nature, flowers and gardens as much as I do, make sure to give me a follow there! 😊🌸🌿
Thank you!
I hope you enjoyed this post! I included a summary of this DIY, along with several others, in the journal I created called The Wildflower’s Journal, inspired by the unstoppable wildflowers!
Hi, I’m Pansy!
Hello, thanks for stopping by! I’m Pansy, a California-based photographer, flower & nature lover, and travel blogger. 🌸🌼🌿
I also have a YouTube channel where I feature beautiful gardens, parks & flower fields. Make sure to follow me there if you love flowers & gardens! 😊
If you’d like to contact me, please send me an email or DM me on Instagram!
Pansy ❤️


Leave a Reply