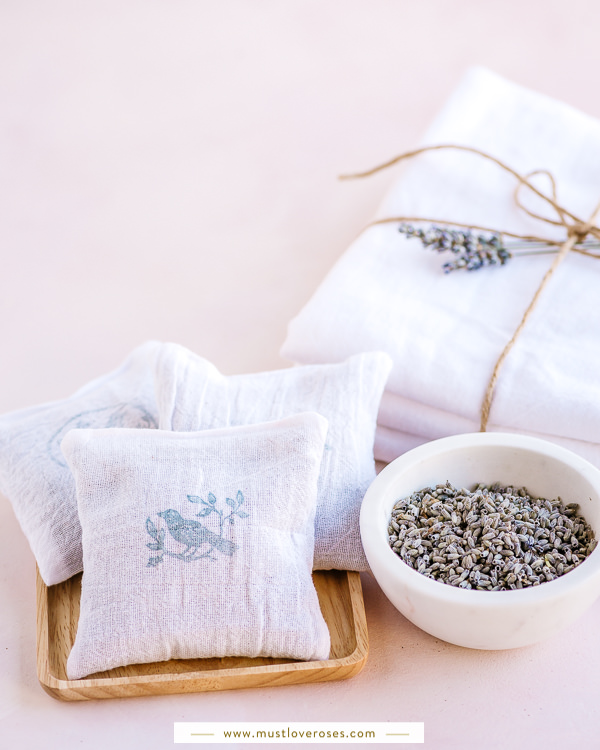
Hello friends! Today I’m going to share another fun and easy DIY – how to make lavender sachets! Unlike my Easy Lavender Sachet DIY which doesn’t require any sewing, this one does involve a little bit of sewing (just a tiny bit, really!). But don’t worry, it’s still easy, and with a little effort, you can make heavenly scented sachets in the exact size and dimension that you want, and with the fabric that you want. These are my favorite types of sachets to make! If you can sew a straight line, you can do this DIY and have delightful custom lavender sachets for your drawers or to gift to friends and family!
* This blog post may include affiliate links for which I may receive a small compensation. Learn more about my affiliate & cookies policy here. Thank you for supporting this flowery blog! 💛🌸🌿
DIY Lavender Sachets Materials
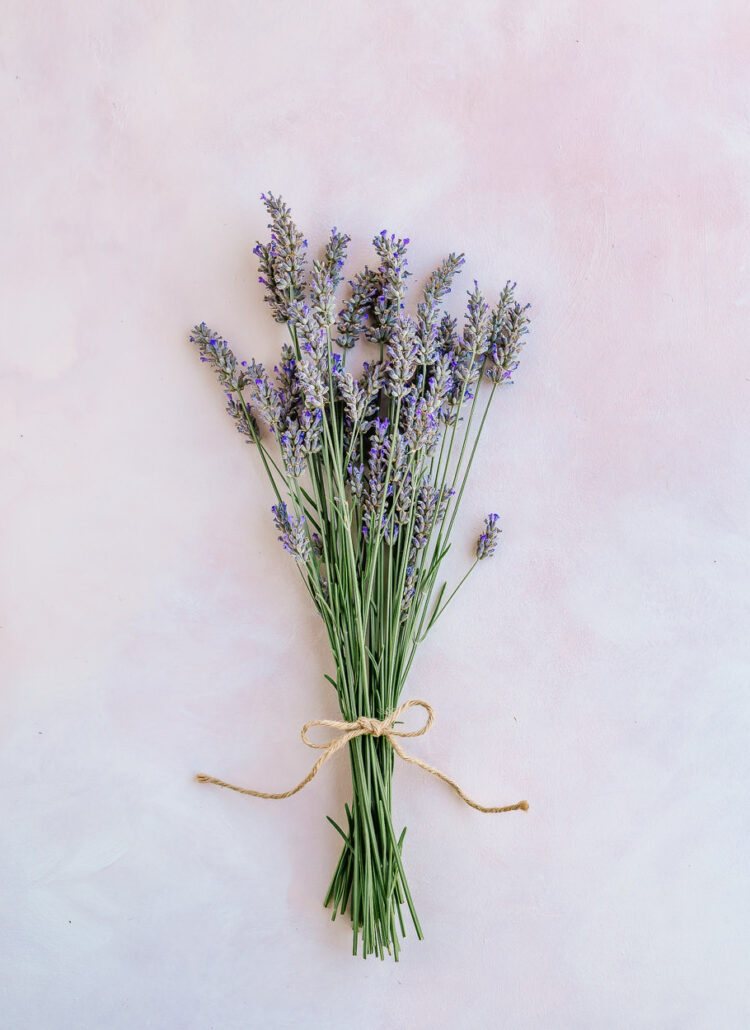
Dried lavender buds (see my post on how to dry fresh lavender!)
Breathable fabric of choice, preferably cotton or linen
Piece of plain paper
Ruler
Scissors or rotary cutter
Cutting mat if using a rotary cutter
Sewing machine
Piece of ribbon (optional)
Rubber stamps and ink (optional)
Where to Buy Dried Lavender
As I mentioned in my post on How to Harvest and Dry Lavender, it’s so fun and useful to grow your own lavender in your backyard or patio! That way, you can dry your own lavender and ensure its quality. You can have a ready supply to use from just a few plants. I have more than 22 lavender plants in my yard and can honestly say that I can only harvest the equivalent of 3 to 4 plants a year because they produce so many flowers each year!
But don’t worry if you don’t have any homegrown lavender – you can also purchase dried lavender from places like Etsy and Amazon. Both of the linked products are from France and have great reviews!
How to Make Lavender Sachets
Lavender Sachet DIY Summary
- Cut a template for the sachets with a sheet of paper.
- Cut the fabric for the sachets.
- Sew the sides of the sachets.
- Decorate the sachets. (optional)
- Fill the sachets with dried lavender buds.
- Sew the top of the sachet closed.
- Insert a ribbon for hanging. (optional)
Step 1 – Cut a Template
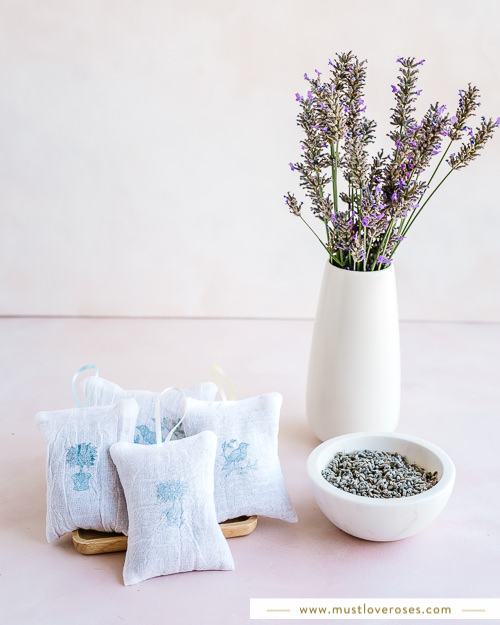
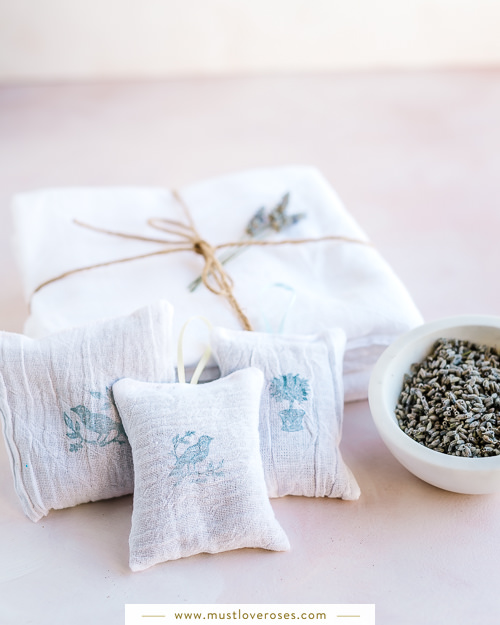
The first step is to decide what size and shape you want your sachets to be and make a paper template for it. I wanted a 4” x 4” square one, so I’ll use that as an example. (I also love a 3” x 4” rectangular shape as shown in the photos.) I made this version with the bottom side folded but not sewn. To get the paper template height and width, you simple double the height and add ¼ inches to the sides that you’ll sew to allow for a ¼ inch seam.
For template height, double the finished height dimension + ¼ inch.
For template width, add half an inch to the finished width (¼ inch for each side)
So for my 4” x 4” sachet, my template height is 8¼ inches and my template width is 4½ inches.
For my 3” x 4” sachet, my template height is 8¼ inches and my template width is 3½ inches.
I like to use a thicker piece of paper but a regular sheet of printer paper will do also.
Step 2 – Cut the Fabric
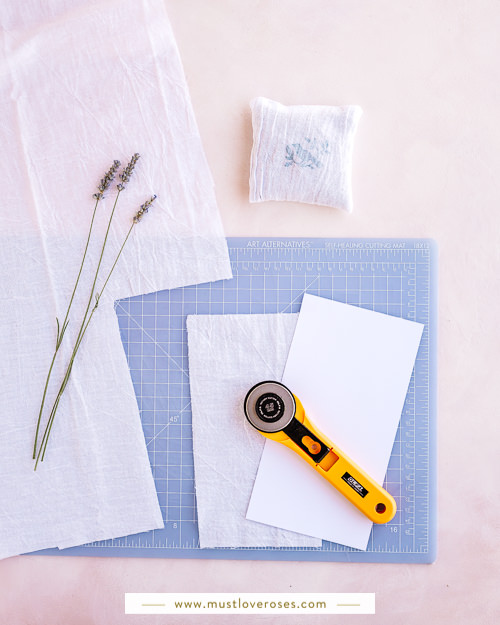
Now that you have a template, you can use it to cut the pieces of fabric that you’ll use to make the sachets. Just lay the template on top of the fabric and cut the fabric using the template as a guide. If needed, you can pin the paper template to the fabric first to hold them together.
A great alternative to a scissor for this DIY is a rotary cutter, which makes such clean, quick and straight cuts! I love my Olfa one (I have the 45mm version shown here). You’ll also need a self healing cutting mat to put underneath the fabric when using the rotary cutter. I use this combination so often!
What Fabric is Best for Lavender Sachets?
A thin to medium thickness, breathable fabric such as cotton or linen is best for lavender sachets. For these sachets, I used a pack of white flour sack towels that I found at my local Target. Here’s a version from Target available online. Amazon also carries inexpensive white flour sack towels. I love how the texture creates a rustic French countryside look, especially when paired with blue decorations. Linen is a great alternative, but note that linen may not take ink as well as cotton if you plan to use rubber stamps for decorating.
Alternatively, you can use scrap cotton or linen from clothing that no longer fit. They would be great to repurpose for this DIY!
Step 3 – Sew the Sides of the Sachet
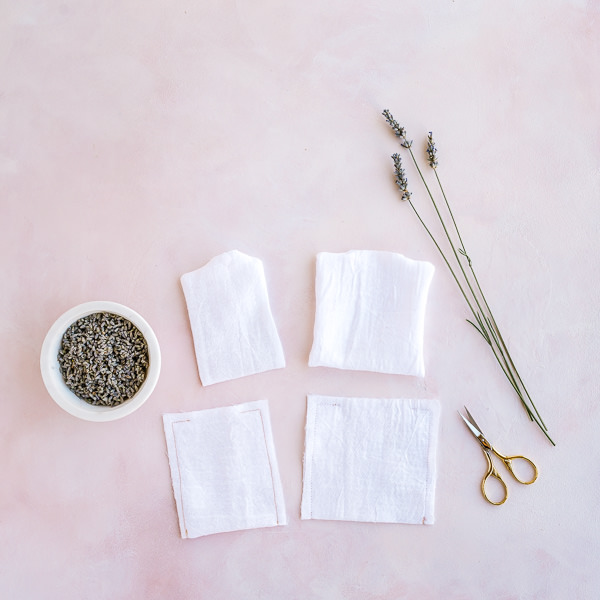
After you have cut the fabric, you’ll fold the fabric in half and sew a straight line down the two sides, approximately ¼ inch in from the edges. Next, partially sew the top, leaving a 1½ inch opening at the top to pour lavender buds through (see picture below). I usually do a backstitch at the openings to reinforce them. Then, reach in through the opening at the top to pull the sachet inside out from the bottom.
I grew up using my mom’s full-size sewing machine, but I absolutely love the tabletop computerized Brother sewing machine that I purchased a couple years ago. It’s so wonderful for DIY projects such as these and for everyday small fixes and adjustments. The model that I have, the Brother SE600/700 also does embroidery!
Step 4 – Decorate the Sachets
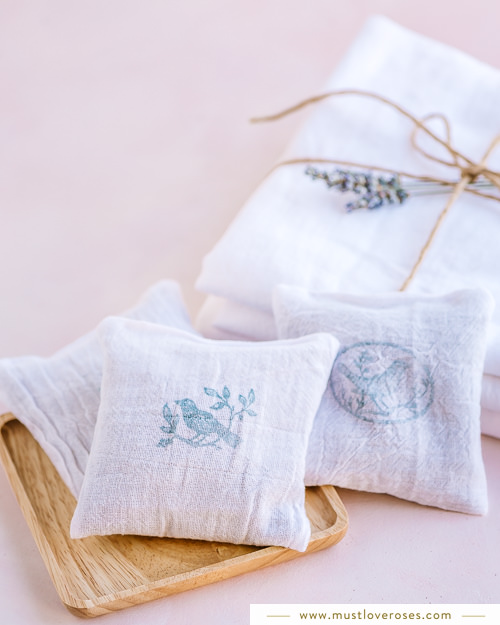
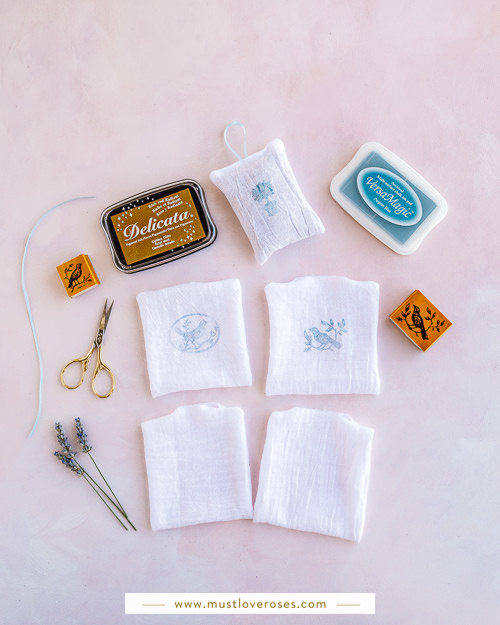
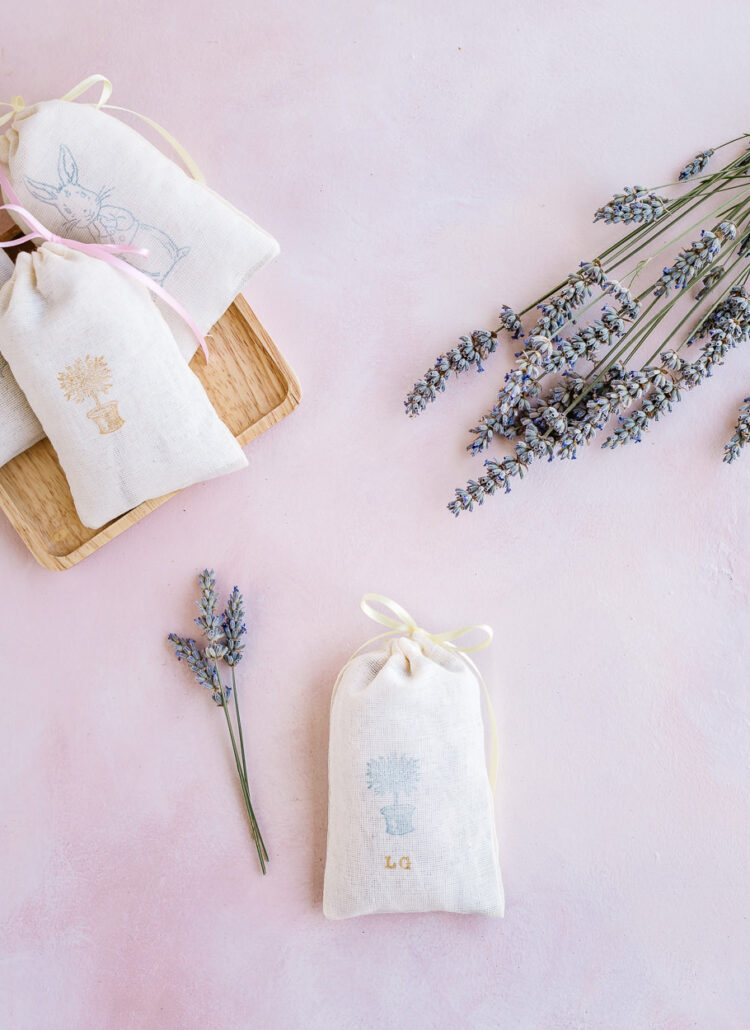
At this point, you can decorate the sachets if you’d like. It’s much easier to decorate them when they’re empty than when they’re full of lavender buds! I like to use rubber stamps for an easy and fun way to decorate. My favorite inks are from VersaMagic and Memento Luxe. The blue color I used for these sachets is Aegean Blue from VersaMagic. I just love the blue and white combination for a French countryside vibe! Make sure to test the stamp and ink on a scrap piece of the same fabric first. Cotton fabric will take ink better than linen.
The birds and nest rubber stamp set that I used for these sachets is from Cavallini. It seems to be discontinued now, but you may be able to find it on Etsy (such as this listing) or on eBay. Here’s another cute rubber stamp set with floral designs from Amazon that would be adorable!
Another thing I like to do is add a small piece of ribbon in a pretty color to the top, which I’ll talk about more below.
You can use different decorations for different occasion such as Christmas, Valentine’s Day, birthdays, etc.
Step 5 – Fill the Sachets with Lavender Buds
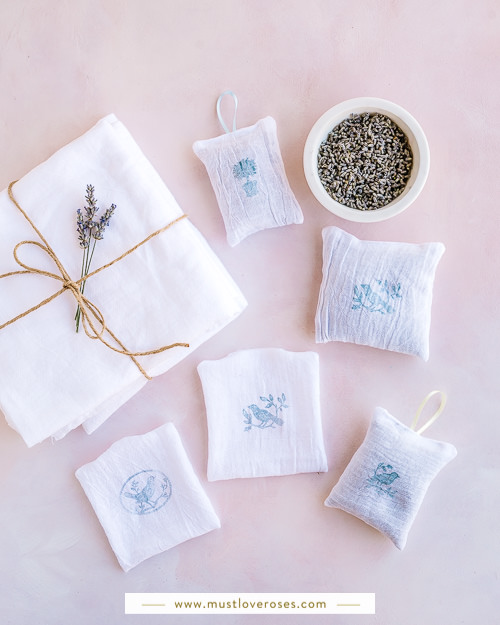
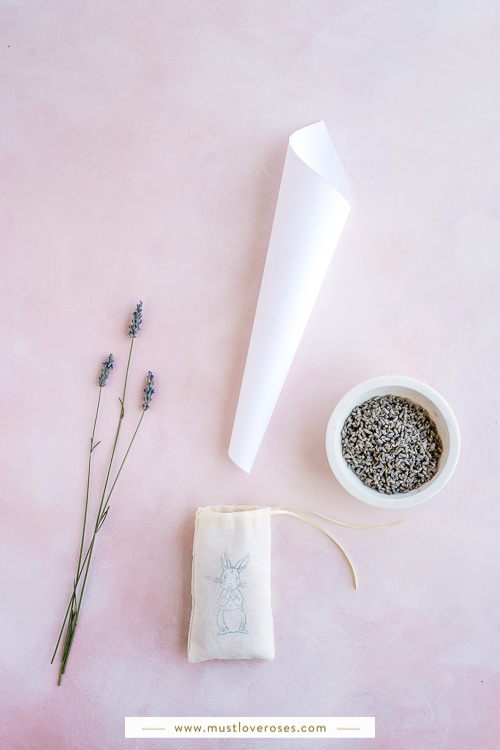
Now it’s the time to fill the sachets with lavender buds! I’ve learned from experience that the neatest, least messy way to fill the sachets with buds is with a paper funnel. As I showed with my no-sew lavender sachets DIY, you simply roll a piece of paper diagonally, leaving a medium-sized hole at the bottom approximately 1 to 1½ inches wide. Place that opening into the hole at the top of the sachet and pour the lavender buds in.
🌸 My Favorite Flower Books 🌸
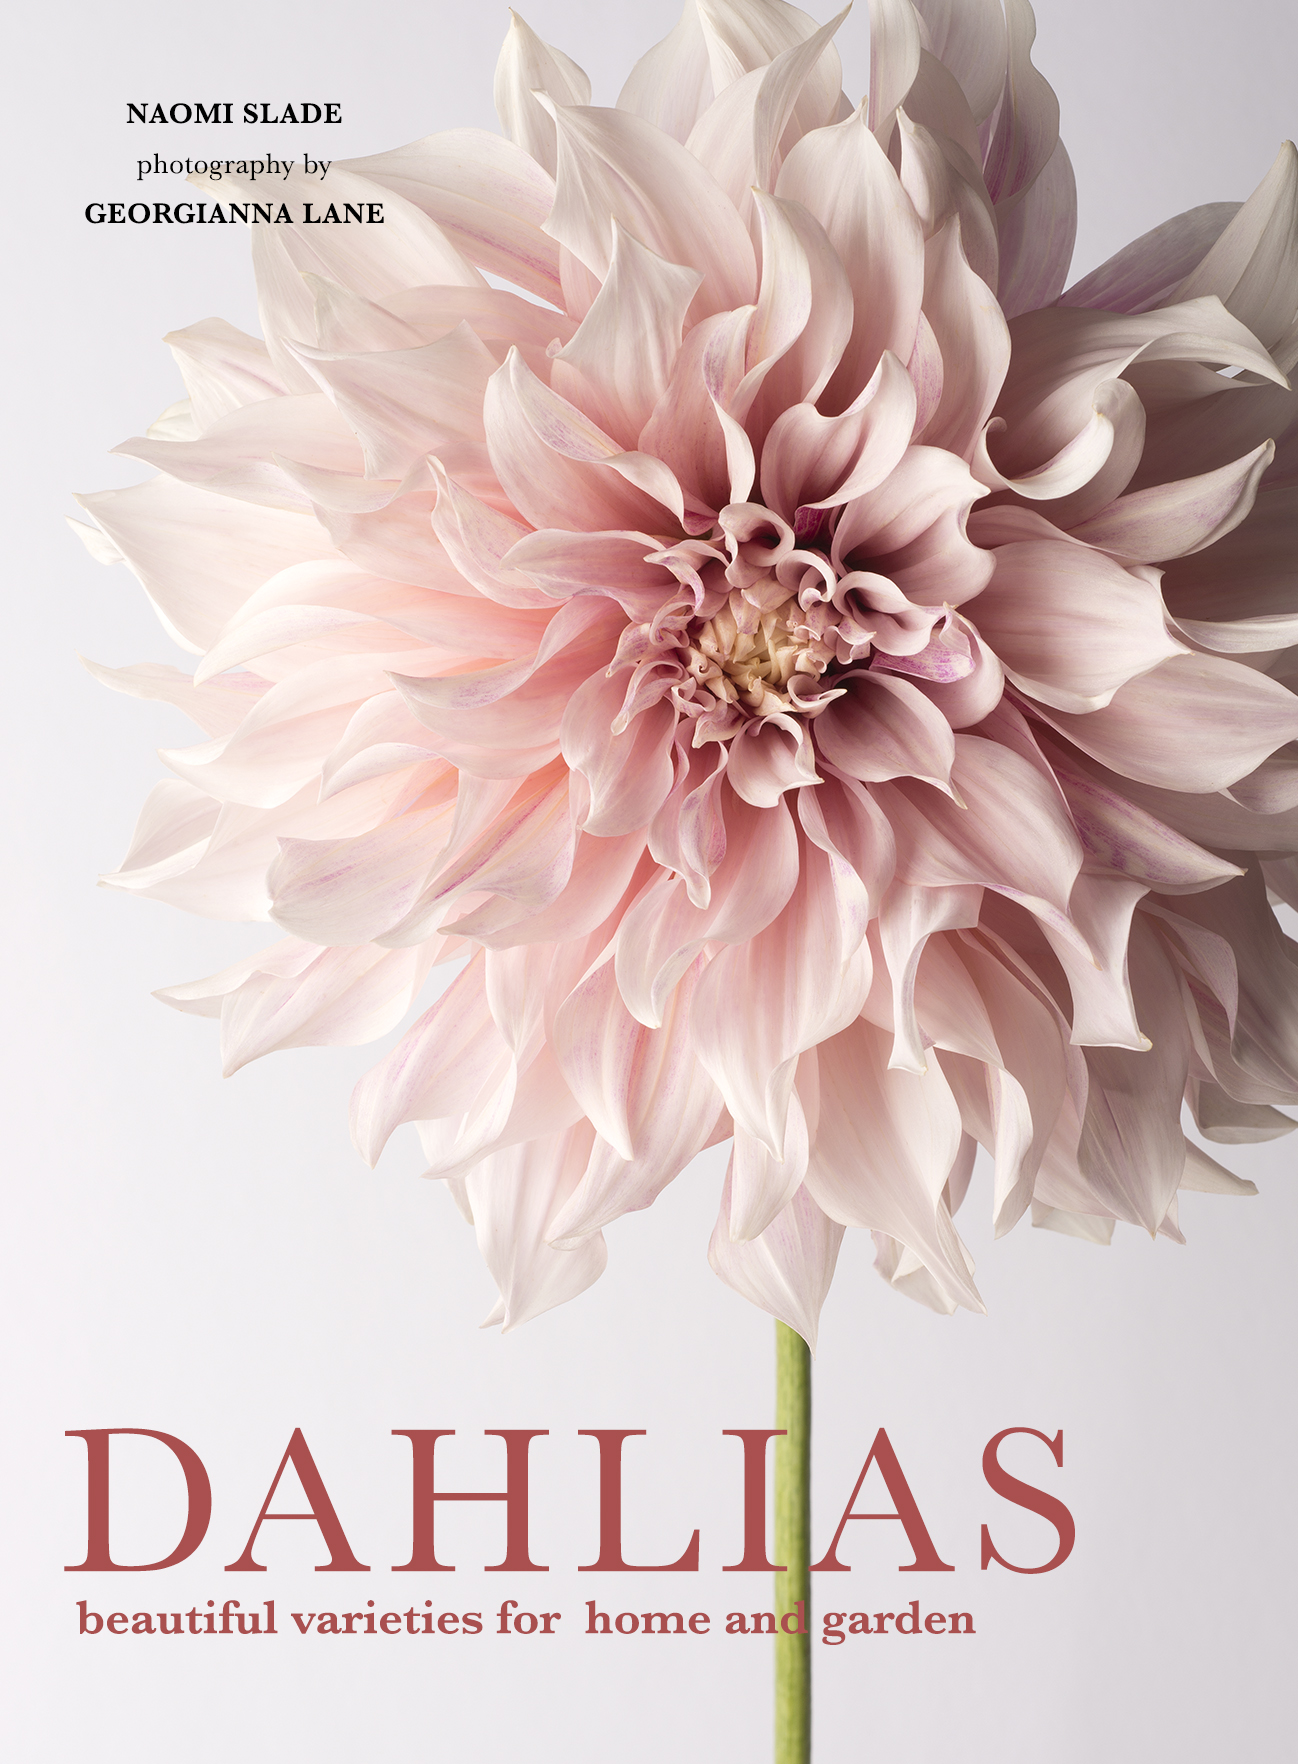
Take a look at these beautiful books by my favorite photographer Georgianna Lane!
How Much Lavender do You Put in a Sachet?
Typically, I fill my sachets at least ¾ full. Sometimes, I like to fill mine to almost the top for a plumper sachet. For the 4″ x 4″ sachets shown here, I used approximately ½ cup of dried lavender buds.
Optional Things to Add to a Lavender Sachet
One option to create a more substantial feel to the sachets is to mix in some uncooked rice with the lavender buds. Use about one part rice to two parts lavender buds. This method will also soften the scent of lavender if you find it too strong.
If, on the other hand, you’d like an even strong scent of lavender, you can add a few drops of lavender essential oil. Be careful to start with just a drop or two since the oil can be quite strong!
Step 6 – Sew the Sachet Closed
When you’re done filling the sachet, fold the two sides of the opening inward and sew the opening closed from the top. You can also add a small piece of folded ribbon between the two sides while you sew it closed so that it can be hung from hooks. The ribbons for these sachets are 2 inches tall, so I folded a piece of ribbon about 5 inches long and inserted the two loose ends into the top opening as I sewed it closed. I buy my ribbons from Joann’s or Michaels, and there are similar ribbons available on Amazon as well.
Step 7 – Enjoy!
There you go! These adorable sachets are now ready to be enjoyed and gifted! I love giving them as gifts and have found that both men and women love them!
How Long Do Lavender Sachets Last?
A very good question that I’m sure many of you have is – how long do lavender sachets hold their scent? You’ll be happy to know that lavender sachets made from fresh, good quality lavender buds can maintain their scent for many years! If you feel the scent fading, simply massage the sachet gently to refresh it as the dried buds will release more aroma. I have lavender sachets that are over eight years old that still smell amazing!
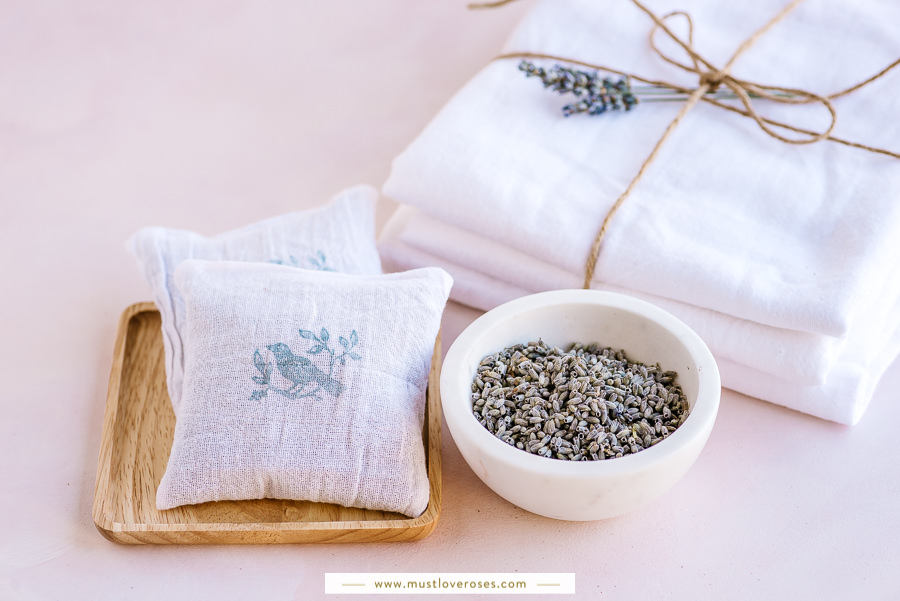
Lavender Buds & Sachets
Love lavender sachets but short on time? Here are some dried lavender buds & sachets for purchase that you may like!
My YouTube Channel!
I’ve started a YouTube channel! If you love nature, flowers and gardens as much as I do, make sure to give me a follow there! 😊🌸🌿
The Roses of the Secret Garden
Step inside a fairytale rose garden, so beautiful and magical, full of blooming roses in every pastel color. Enjoy 4k UltraHD close-ups of David Austin roses, climbing roses, rose pillars, rose walls, and a rose-covered gazebo taken with my Sony A1 camera! 🌸
Thank You!
I hope you enjoyed this post! I included a summary of this DIY, along with several others, in the journal I created called The Wildflower’s Journal, inspired by the unstoppable wildflowers!

Hi, I’m Pansy!
Hello, thanks for stopping by! I’m Pansy, a California-based photographer, flower & nature lover, and travel blogger. 🌸🌼🌿
I also have a YouTube channel where I feature beautiful gardens, parks & flower fields. Make sure to follow me there if you love flowers & gardens! 😊
If you’d like to contact me, please send me an email or DM me on Instagram!
Pansy ❤️



Thanks for the tutorial, I loved it so much I had to include it in my article: 10 Best Mother’s Day Sewing Projects, I linked it here: https://sewingmachines-best.com/mothers-day-sewing-projects/
Thanks Liz!! ❤️